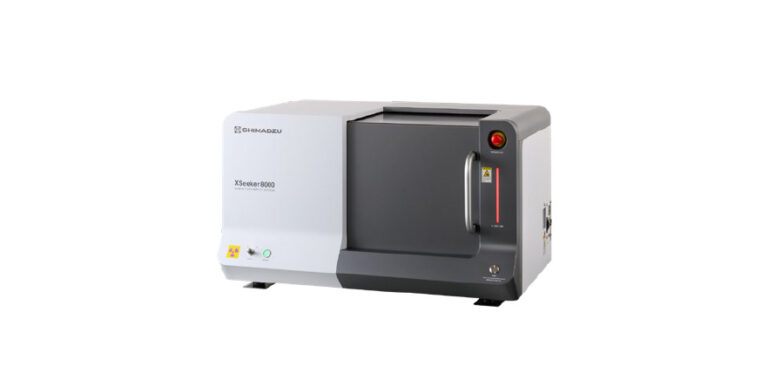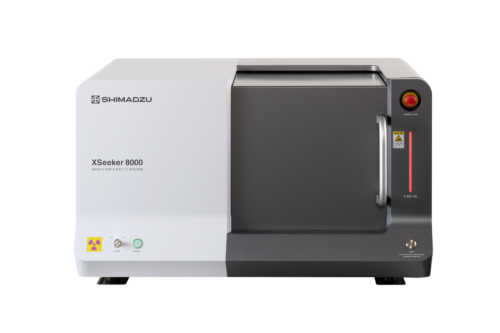
XSeeker 8000
Benchtop X-Ray CT System
| X-Ray Output | 160 kV 1.2 A |
| Test | X-Ray Analysis |
| Type | Table-top appliances |
| Industries | Universal |
Designed for Simplicity
XSeeker™ 8000
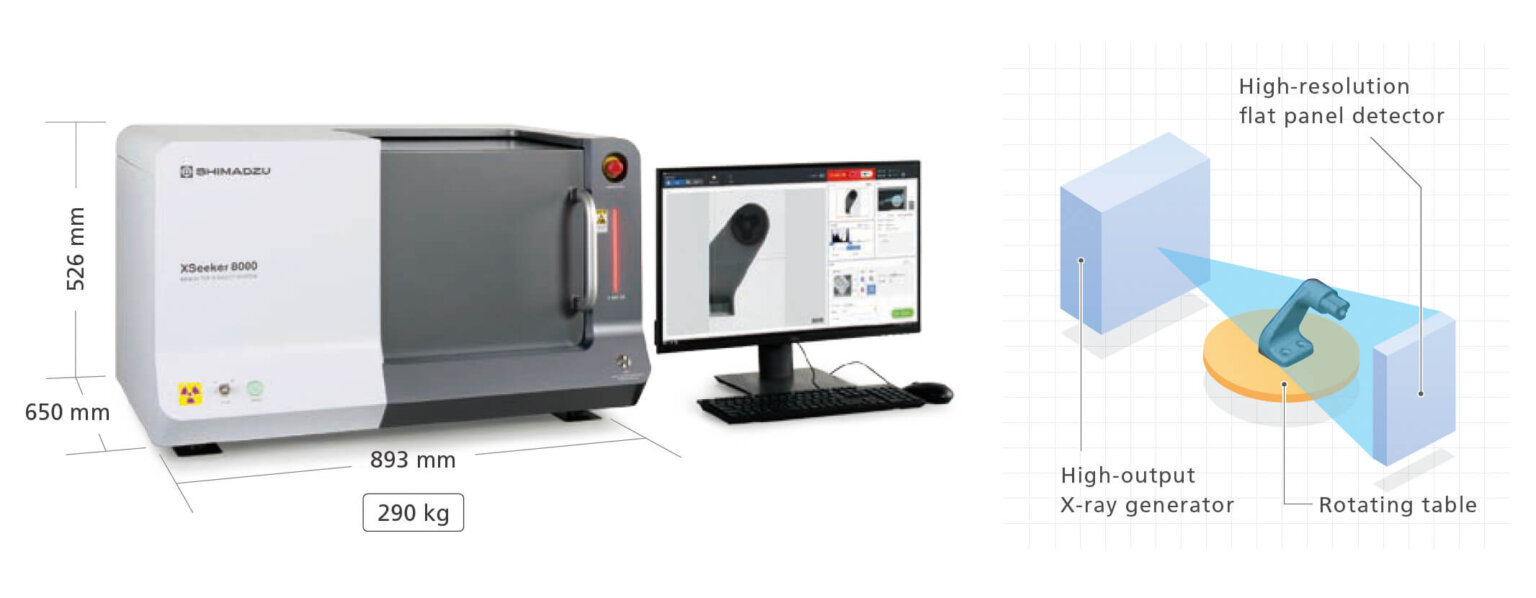
The XSeeker 8000 bench-top X-ray computed tomography (CT) system is equipped with a high-output X-ray generator and a high-resolution flat panel detector.
Despite its compact size, it has a high X-ray output of 160 kV, enabling clear observations of molded plastic parts as well as aluminum die cast parts and other metal parts.
In addition, the newly developed XSeeker control software provides high operability and the highest throughput to date.
With clear image quality and high throughput, it supports applications in a wide range of situations, from detailed observations in product development and quality evaluation to inspections at machining sites.
Compact, High-Output System
Smallest, Lightest Bench-Top CT System in Its X-Ray Output Class
This system is equipped with a 160 kV high-output X-ray generator, enabling observations of thick, hard-to-penetrate plastic parts, as well as aluminum die cast parts and other metal parts. It is the smallest and lightest system in its X-ray output class, so it can be installed anywhere.
Image Quality and Functionality on Par with High-End Models
High-Accuracy Scanning Utilizing a Maximum Input Resolution of 5.6 Million Pixels
High-accuracy scanning is achieved in offset scan mode, which provides both a wide 100 mm diameter scanning field of view and an input resolution equivalent to up to 5.6 million pixels. In addition, the CT data viewer is equipped as standard with a VR (3D) display function, enabling more intuitive observations coordinated with the cross-sectional display function.
Operation Optimized for Inspections
High-Accuracy Scanning Utilizing a Maximum Input Resolution of 5.6 Million Pixels
Just a 3-step process enables starting observations. Even users with no operating experience can start CT scanning immediately. In addition,in repetitive scanning in inspection applications, all the processes from starting scanning to observing the cross sections of interest are available at the push of a button.
Smallest, Lightest Bench-Top CT System in Its Class
It is the smallest and lightest bench-top system in its X-ray output class, so it can be installed anywhere. Since the system size and weight meet the minimum standards for loading into a general passenger elevator in Japan (as per P-6-C *JIS A 4301-1983), there are no difficulties related to delivering the system.
High 160 kV Output Achieves High Penetration Ability
Thanks to its 160 kV X-ray output, the system can observe thick, hard-to-penetrate plastic and metal parts.
Note: The following are reference values.

- X-Ray Transmittance Comparison between 100 kV and 160 kV
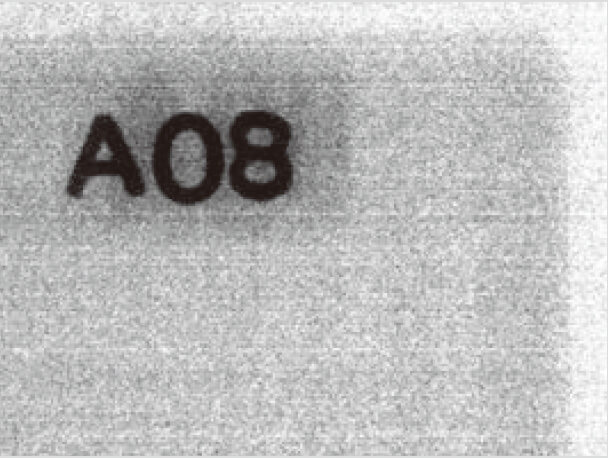
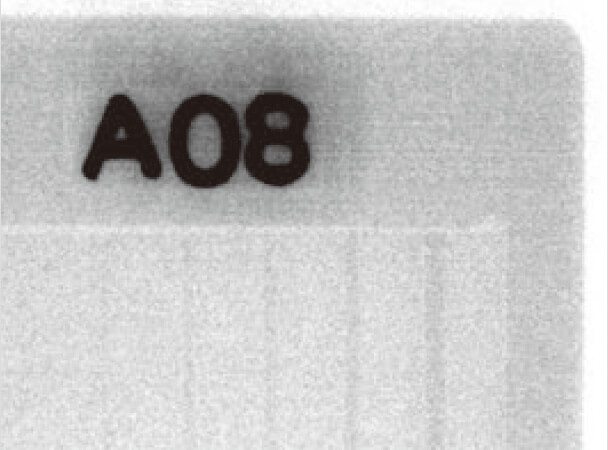
- Image when Penetrating 100 mm of Aluminum
Image Quality and Functionality on Par with High-End Models
High-Accuracy Scanning Utilizing a Maximum Input Resolution of 5.6 Million Pixels
The offset scan layout extends the width to approximately twice that of conventional normal scans, resulting in an input resolution equivalent to 5.6 million pixels. The system provides high-accuracy scanning across a wide 100 mm diameter field of view size.

Equipped with a 50 m Pixel Pitch Flat Panel Detector
The system is equipped with a flat panel detector with fine picture elements measuring approximately 50 m per pixel. This is the smallest pixel pitch of any equivalent class instrument, enabling sharp observations down to the level of fine structures.scanning across a wide 100 mm diameter field of view size.
Equipped as Standard with a High-Functionality All-In-One Viewer
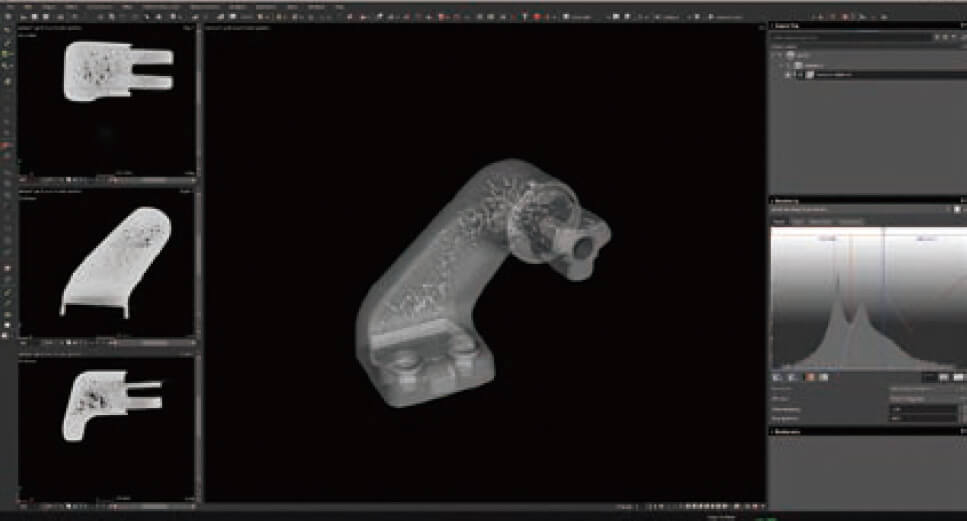
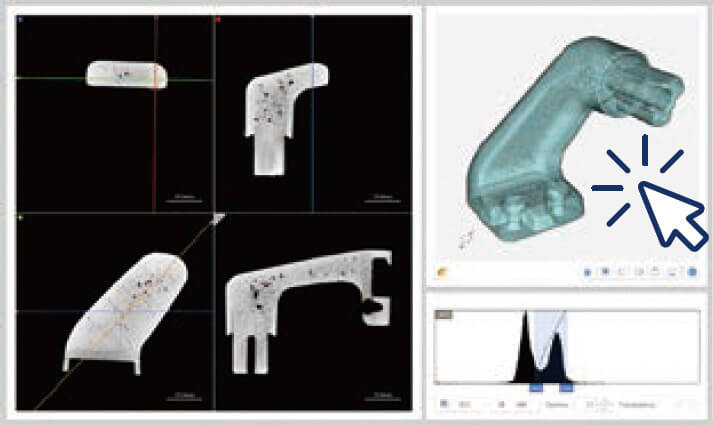
The system is equipped with a high-functionality viewer with multiple functions. In addition to an MPR display, which shows multiple cross-sectional images side by side, this can be combined with a VR display capable of 3D displays, resulting in more intuitive observations. Measurement can be performed on both MPR images and VR images. Further, the CT data can be converted to mesh data (STL) for output. Data converted to STL can be utilized in a variety of applications, such as loading into 3D CAD or outputting with a 3D printer.
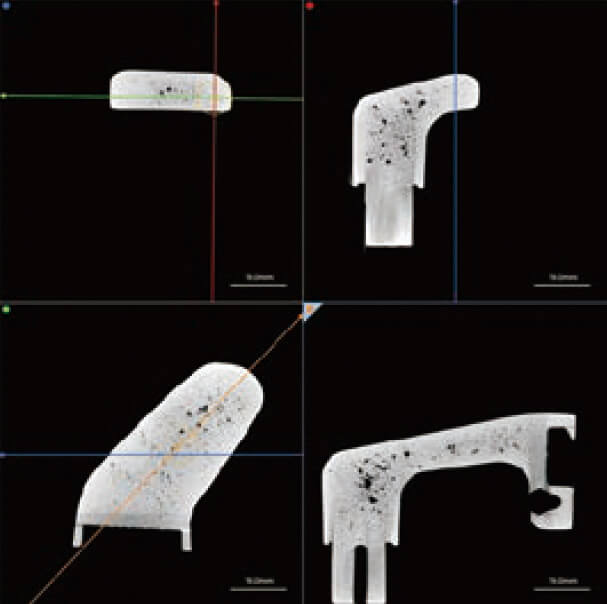
MPR Display
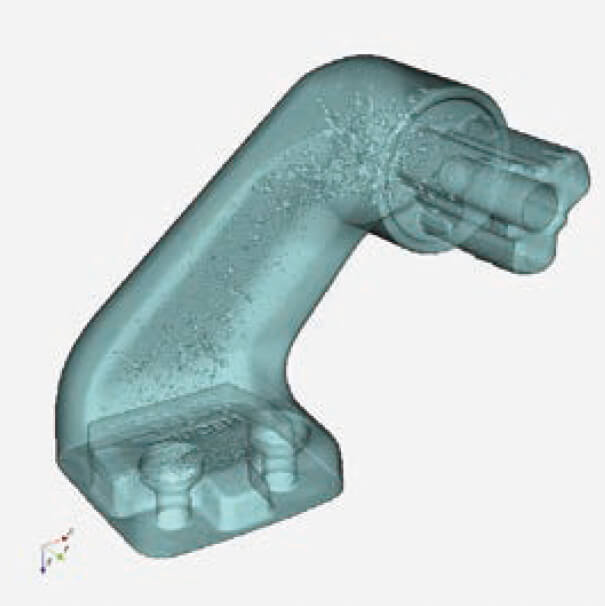
VR Display
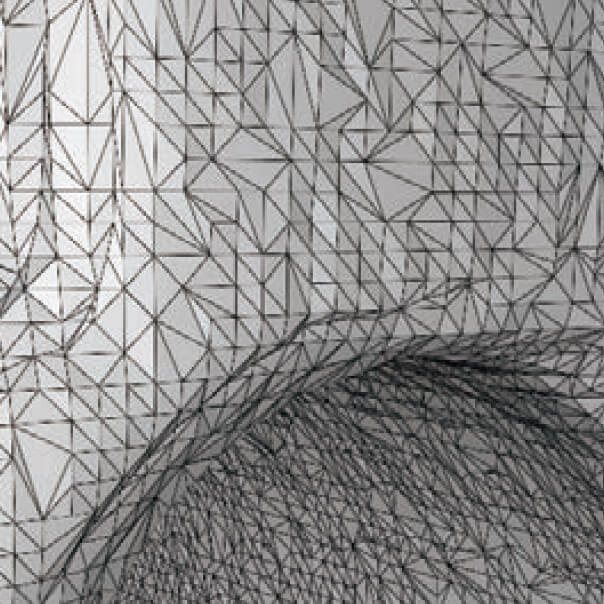
Conversion to Mesh Data (STL)
Operation Optimized for Inspections
Scanning in as Little as 12 Seconds and High-Speed Reconstruction Calculations
High-speed scanning can take as little as 12 seconds. In addition, the system is equipped with the same
reconstruction system as high-end models, so CT data can be displayed a mere 10 seconds after scanning is
complete. This is approximately twice as fast as Shimadzu’s other CT models.

Newly Developed Control Software Enables Intuitive Operations
The simple user interface which eliminates complicated steps, enables intuitive operation so that anyone can easily use the system. There are dedicated windows for scanning and observation, respectively, and the user is free to switch between them.
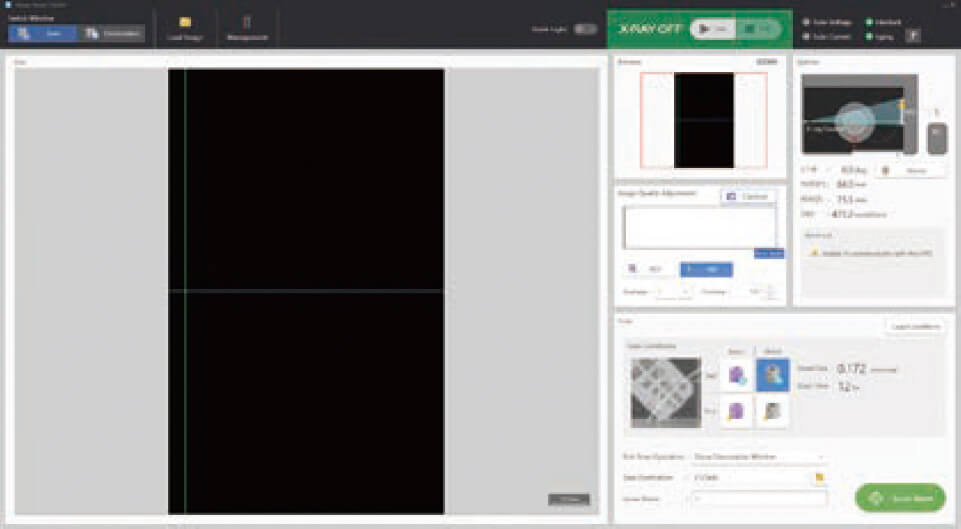
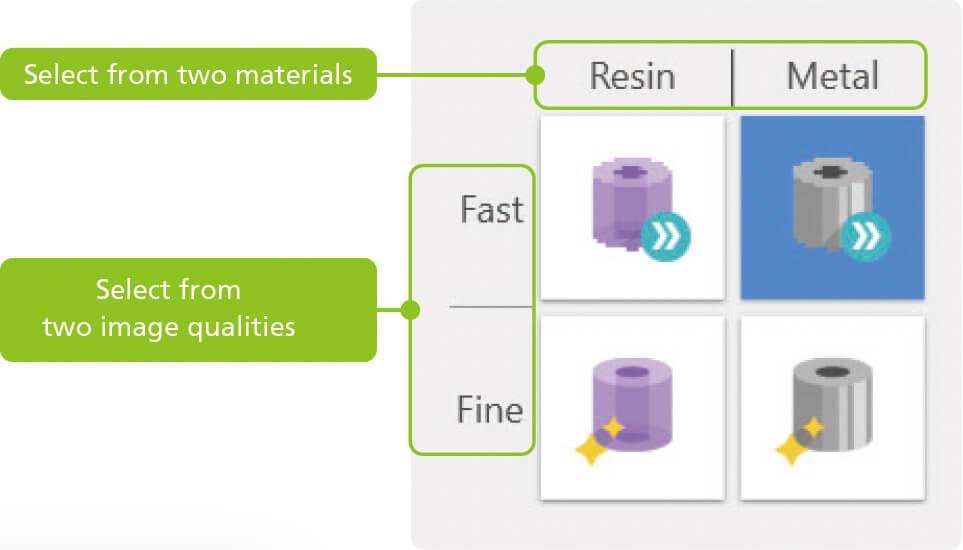
- Recommend Scanning Function
The system is equipped with an recommend scanning function, which can set all the scanning conditions with a single click. The optimal scanning conditions can be set easily just by selecting one combination of material and image quality.
Supporting the Safety and Security of Users
In addition to displaying the instrument status, including the stage position during normal operation, the monitor provides details of any errors that occur during abnormal operation and the site where the problem occurs, so the operator is notified of the problem immediately. The status of the system as a whole is always monitored, from warnings that the sliding door is not shut, for example, to alarms indicating overheating of the X-ray generator and communications faults.
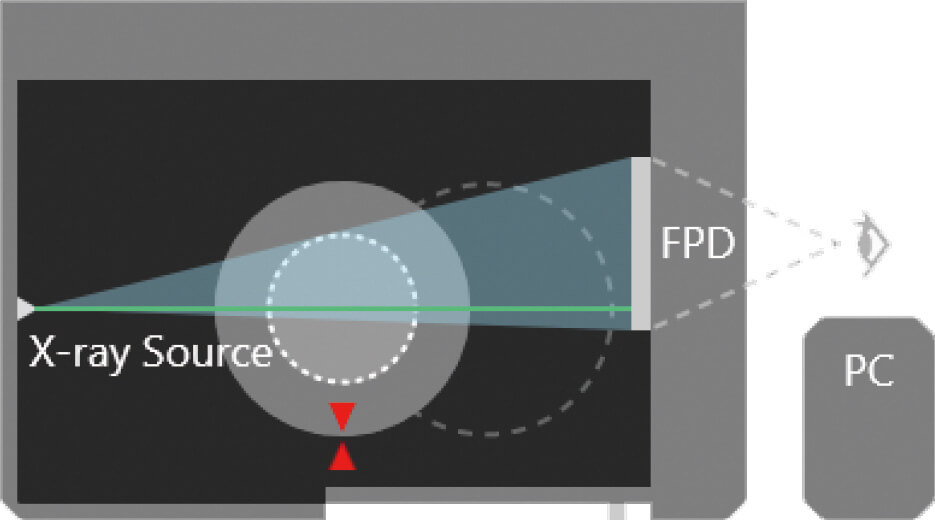
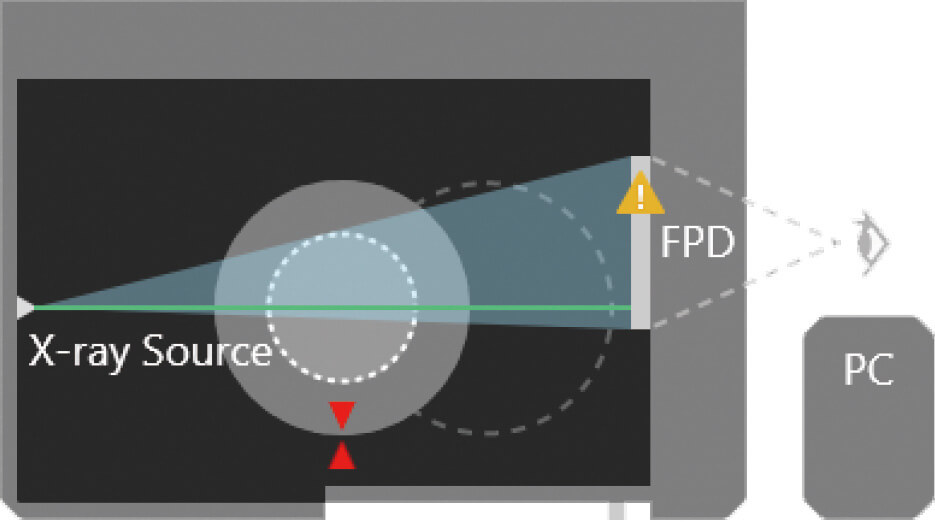
Safety Compliant with CE Marking
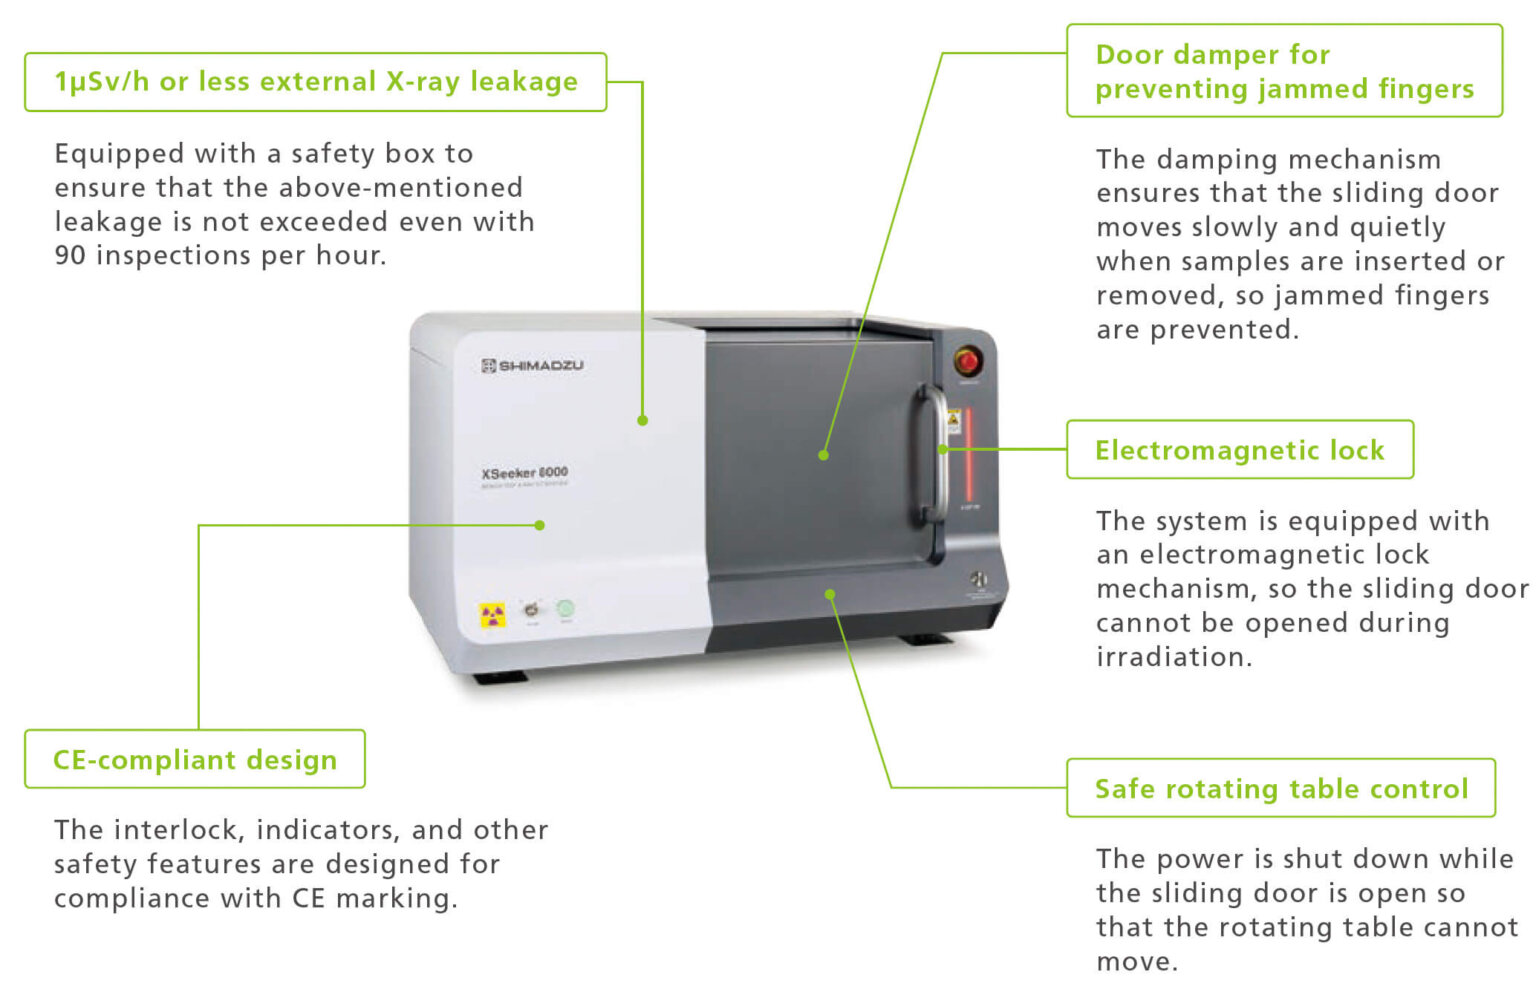
Supporting the Safety and Security of Users
Measurement without dilution of hand cream
In the case of hand cream, dilutions make the particle size distribution narrow. Measurements without dilutions must be done to obtain accurate measurement.
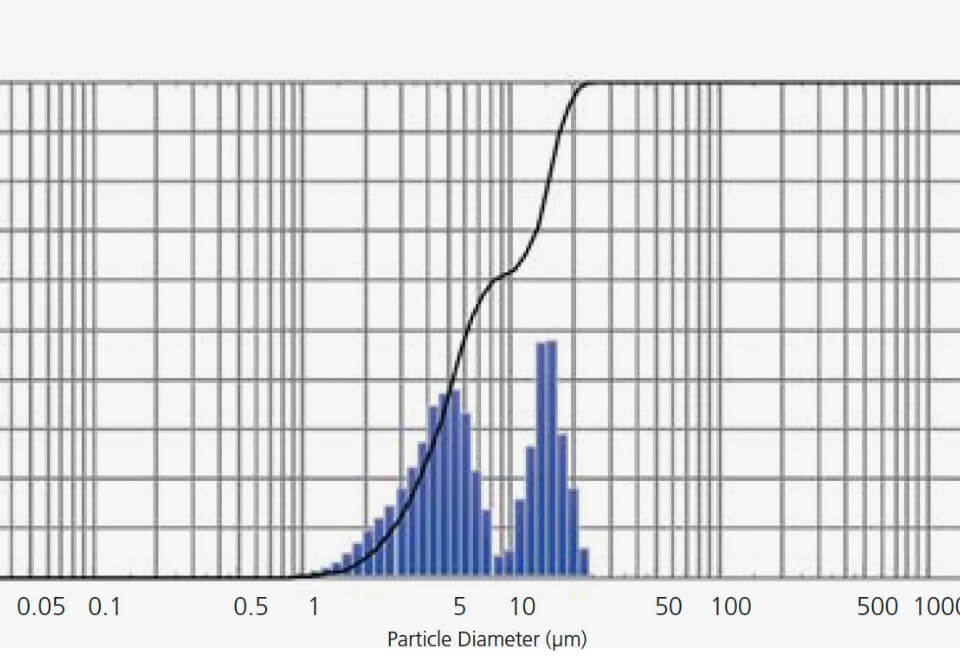
Evaluation of a fine particle included in red wine
The graph to the left shows the result of measuring red wine in the state of the undiluted solution. The low-concentration sample can be measured as an undiluted solution. Measuring it in this state can remove the influence of dispersion or agglomeration by the concentration operation.
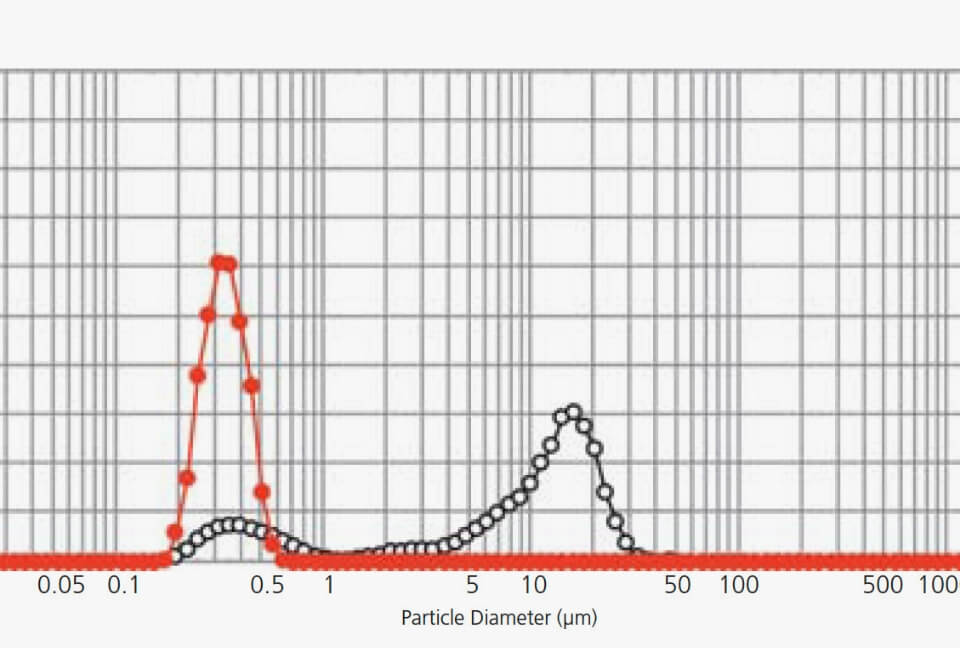
Evaluation of negative electrode material of a secondary battery
At left is a graph showing the results of measuring a carbon black particle. The agglomeration particle (micrometer range) has been dispersed to the fine particle (sub-micrometer range) by dispersion processing using a homogenizer. The sample (sample that absorbs light like the carbon black) that doesn’t transmit light easily can be measured based on the improvement in sensitivity.
Aluminum Diecast: Piston for Motorcycle Resin Parts: Cable gland
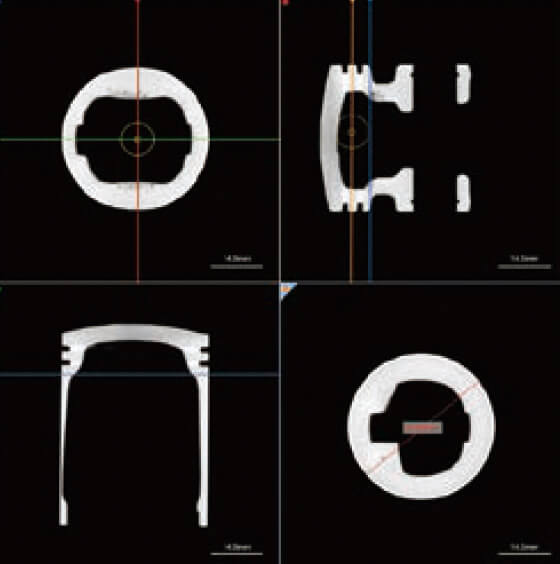
Cross-sectional image (Dimension measurement)
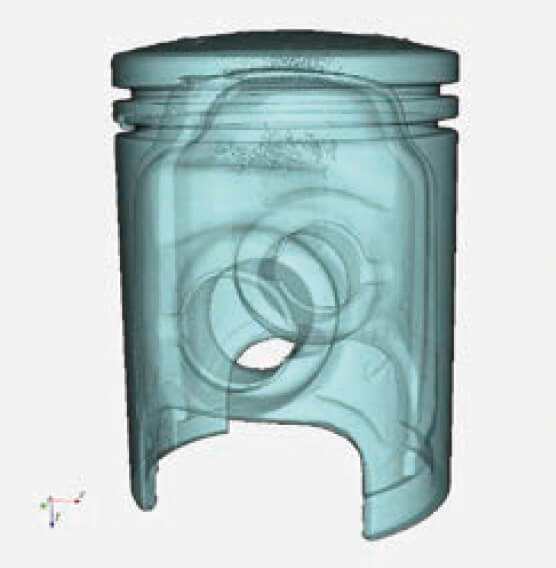
VR Image
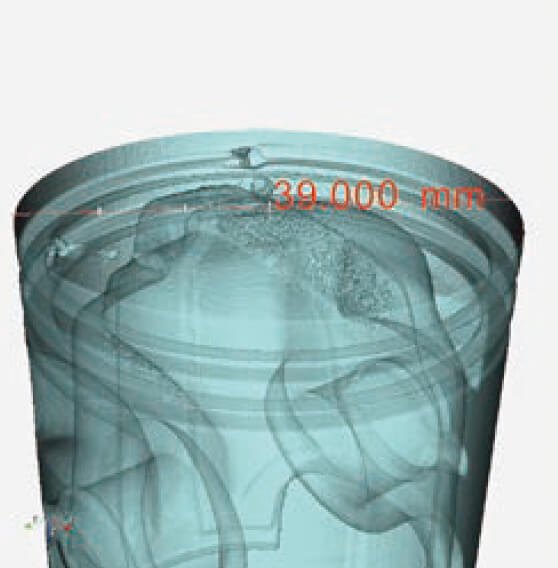
VR Image
(Dimension measurement)
Aluminum Diecast: Drone engine parts

Fluoroscopic image
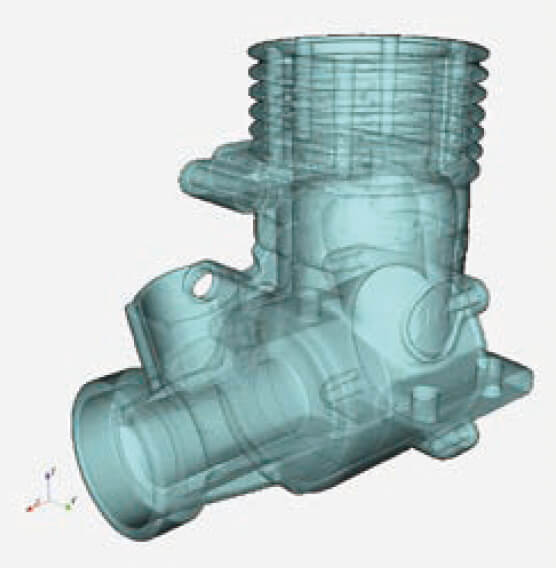
VR Image
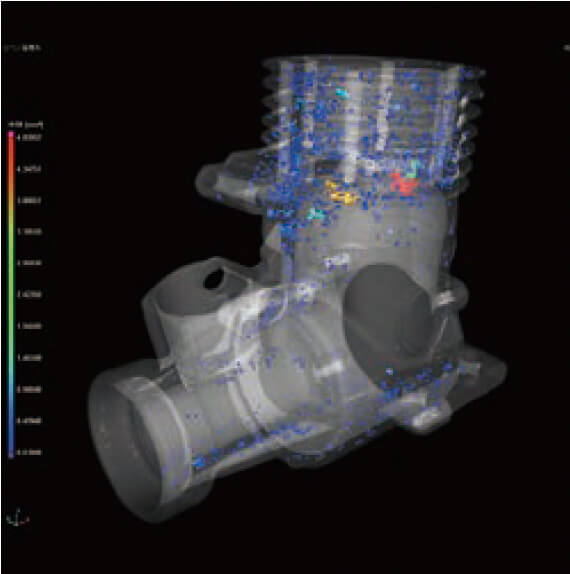
VR Image
(Dimension measurement)
Resin parts: Motorcycle turn signal lamps
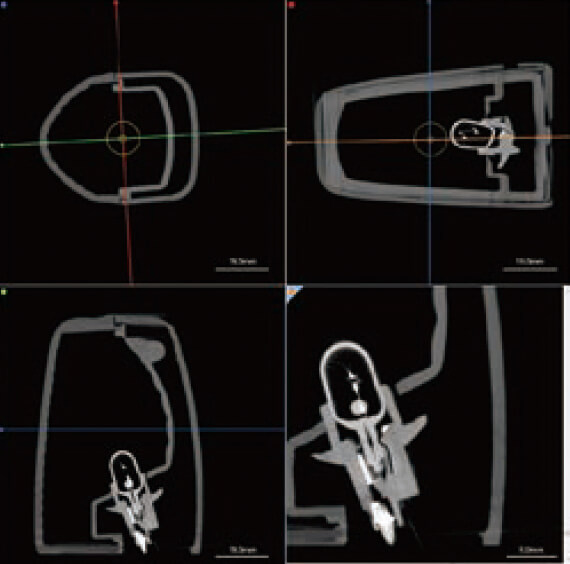
Cross-sectional image
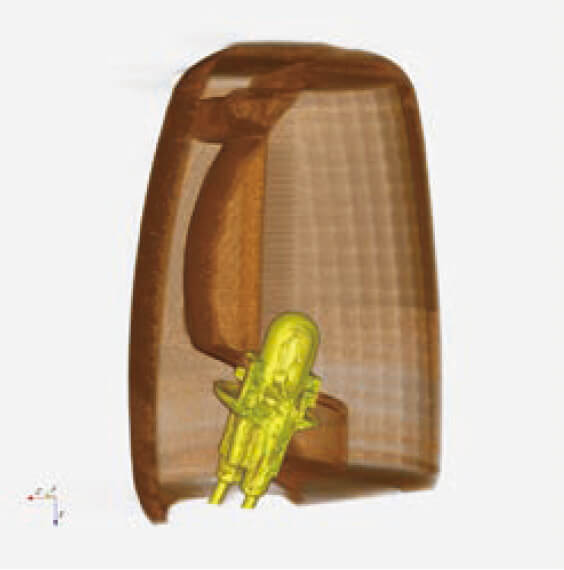
VR Image
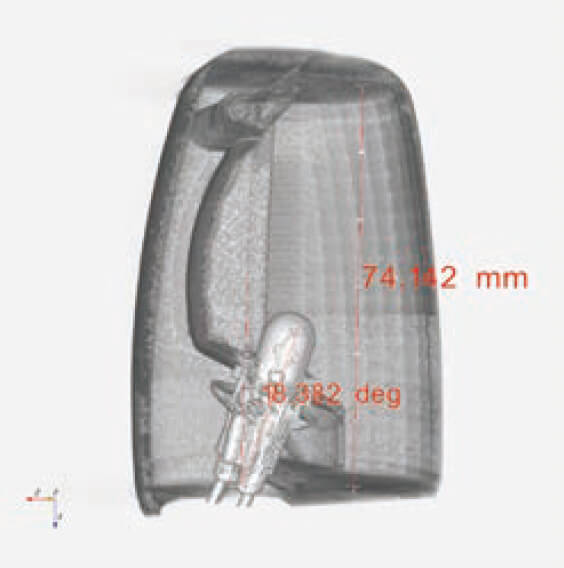
VR Image
(Dimension measurement)
Resin Parts: Cable gland
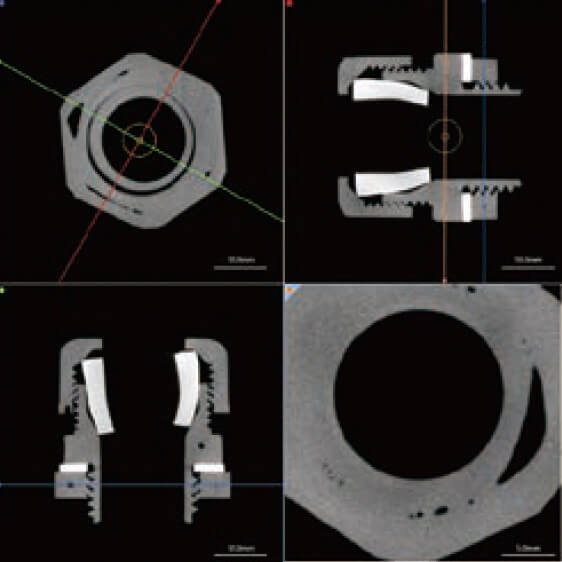
Fluoroscopic imag
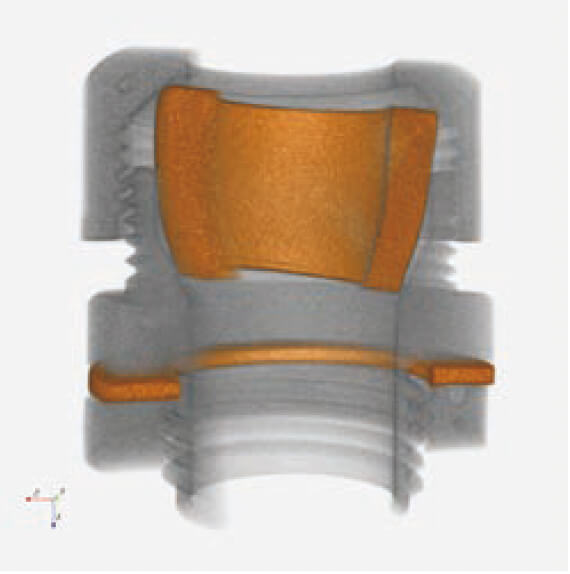
VR Image
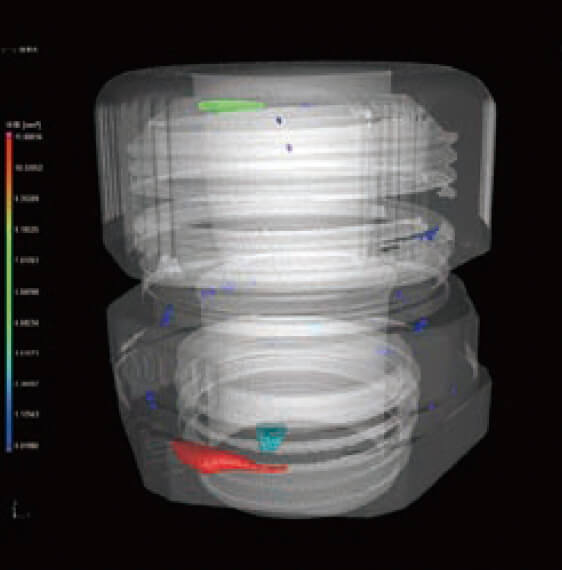
Defect Analysis
(VGSTUDIO MAX)
Electrical parts: AC adapters
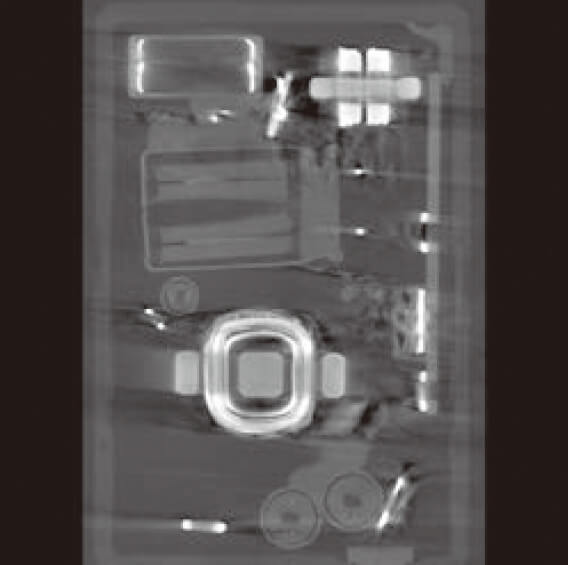
Cross-sectional image
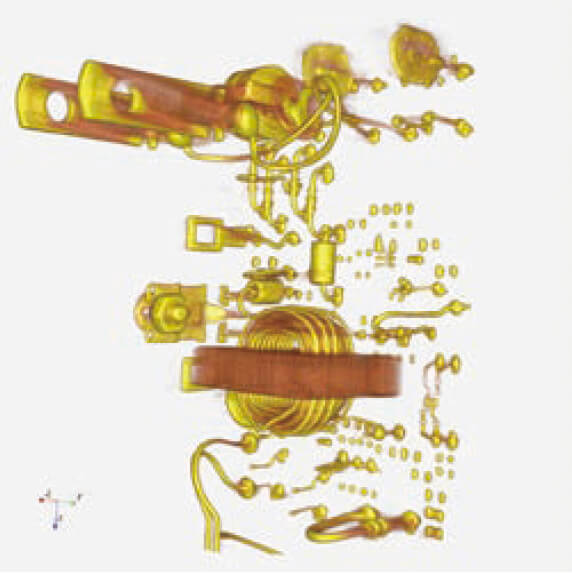
VR Image
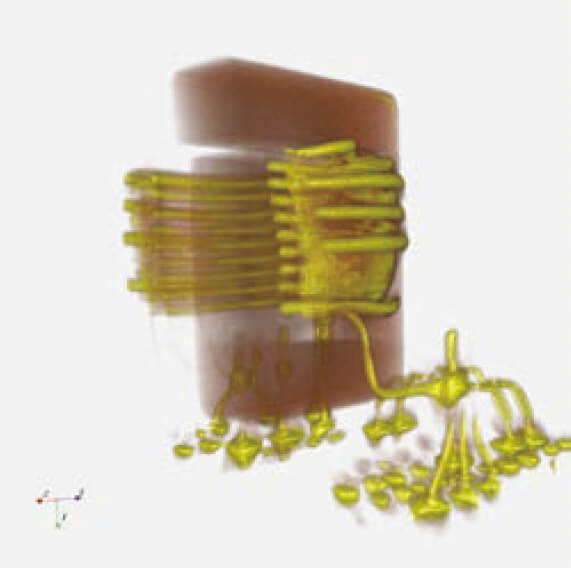
VR Image
(Coil Part Enlarged)
Metallic AM: Acetabular samples

Cross-sectional image

VR Image
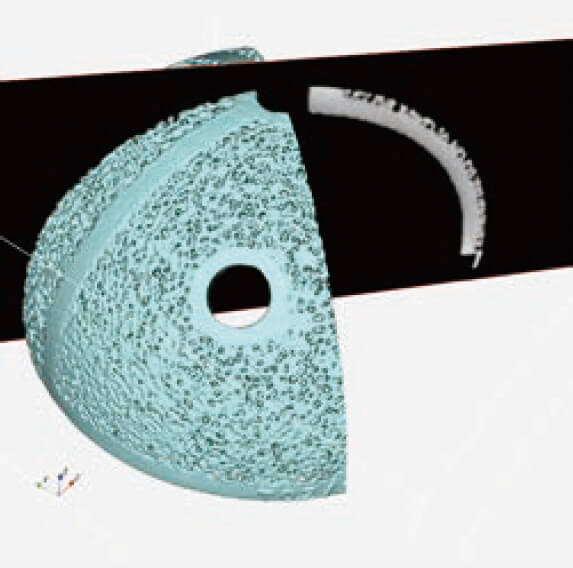
VR Image
Food: Cup noodles (mini size)
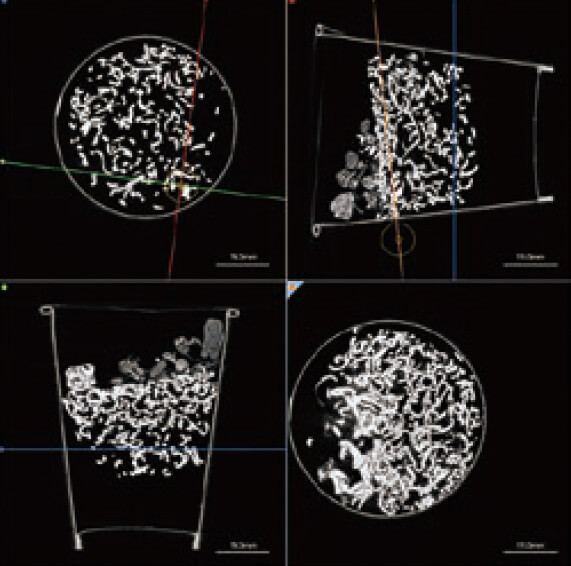
Cross-sectional image

VR Image
Bone: tarsier
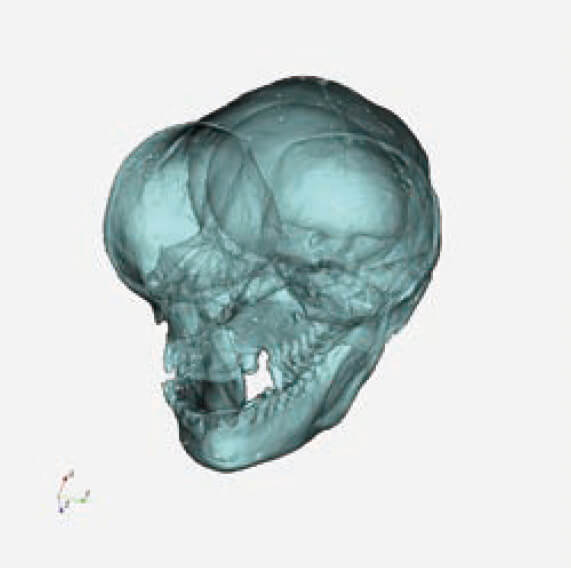
Cross-sectional image
Optional Software
This is high-functionality volume rendering (VR) software.
It has functions for creating animations, various measurements, extraction of regions of interest, image filtering processes, and positional alignment of 3D images.
