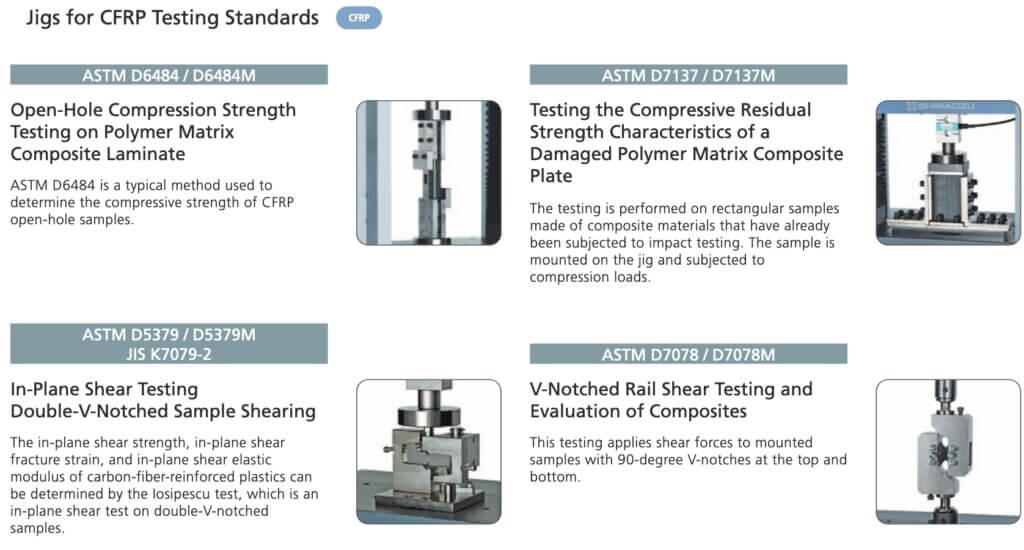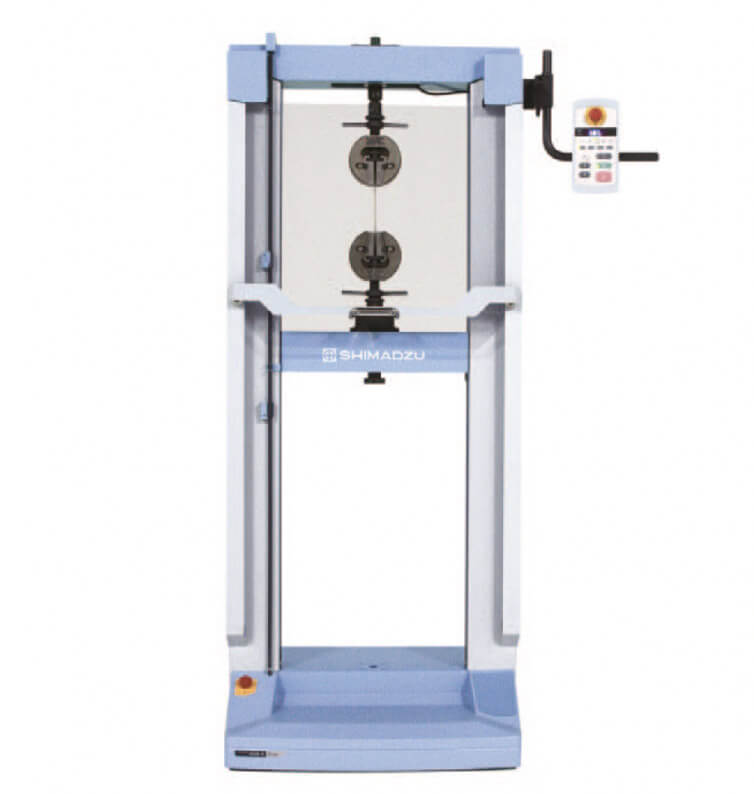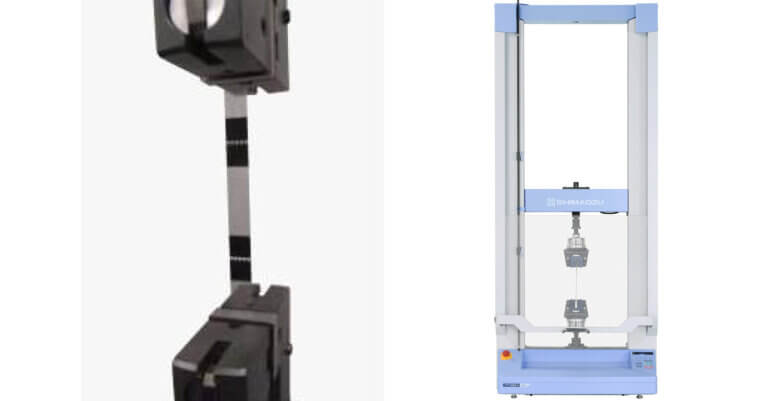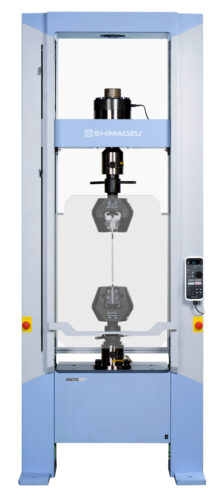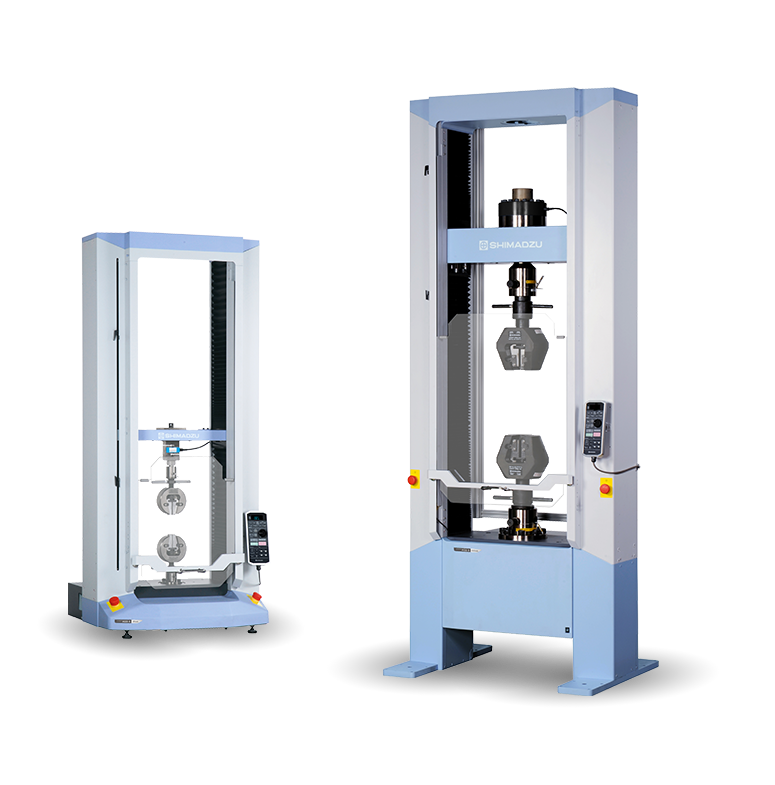
AGS-X
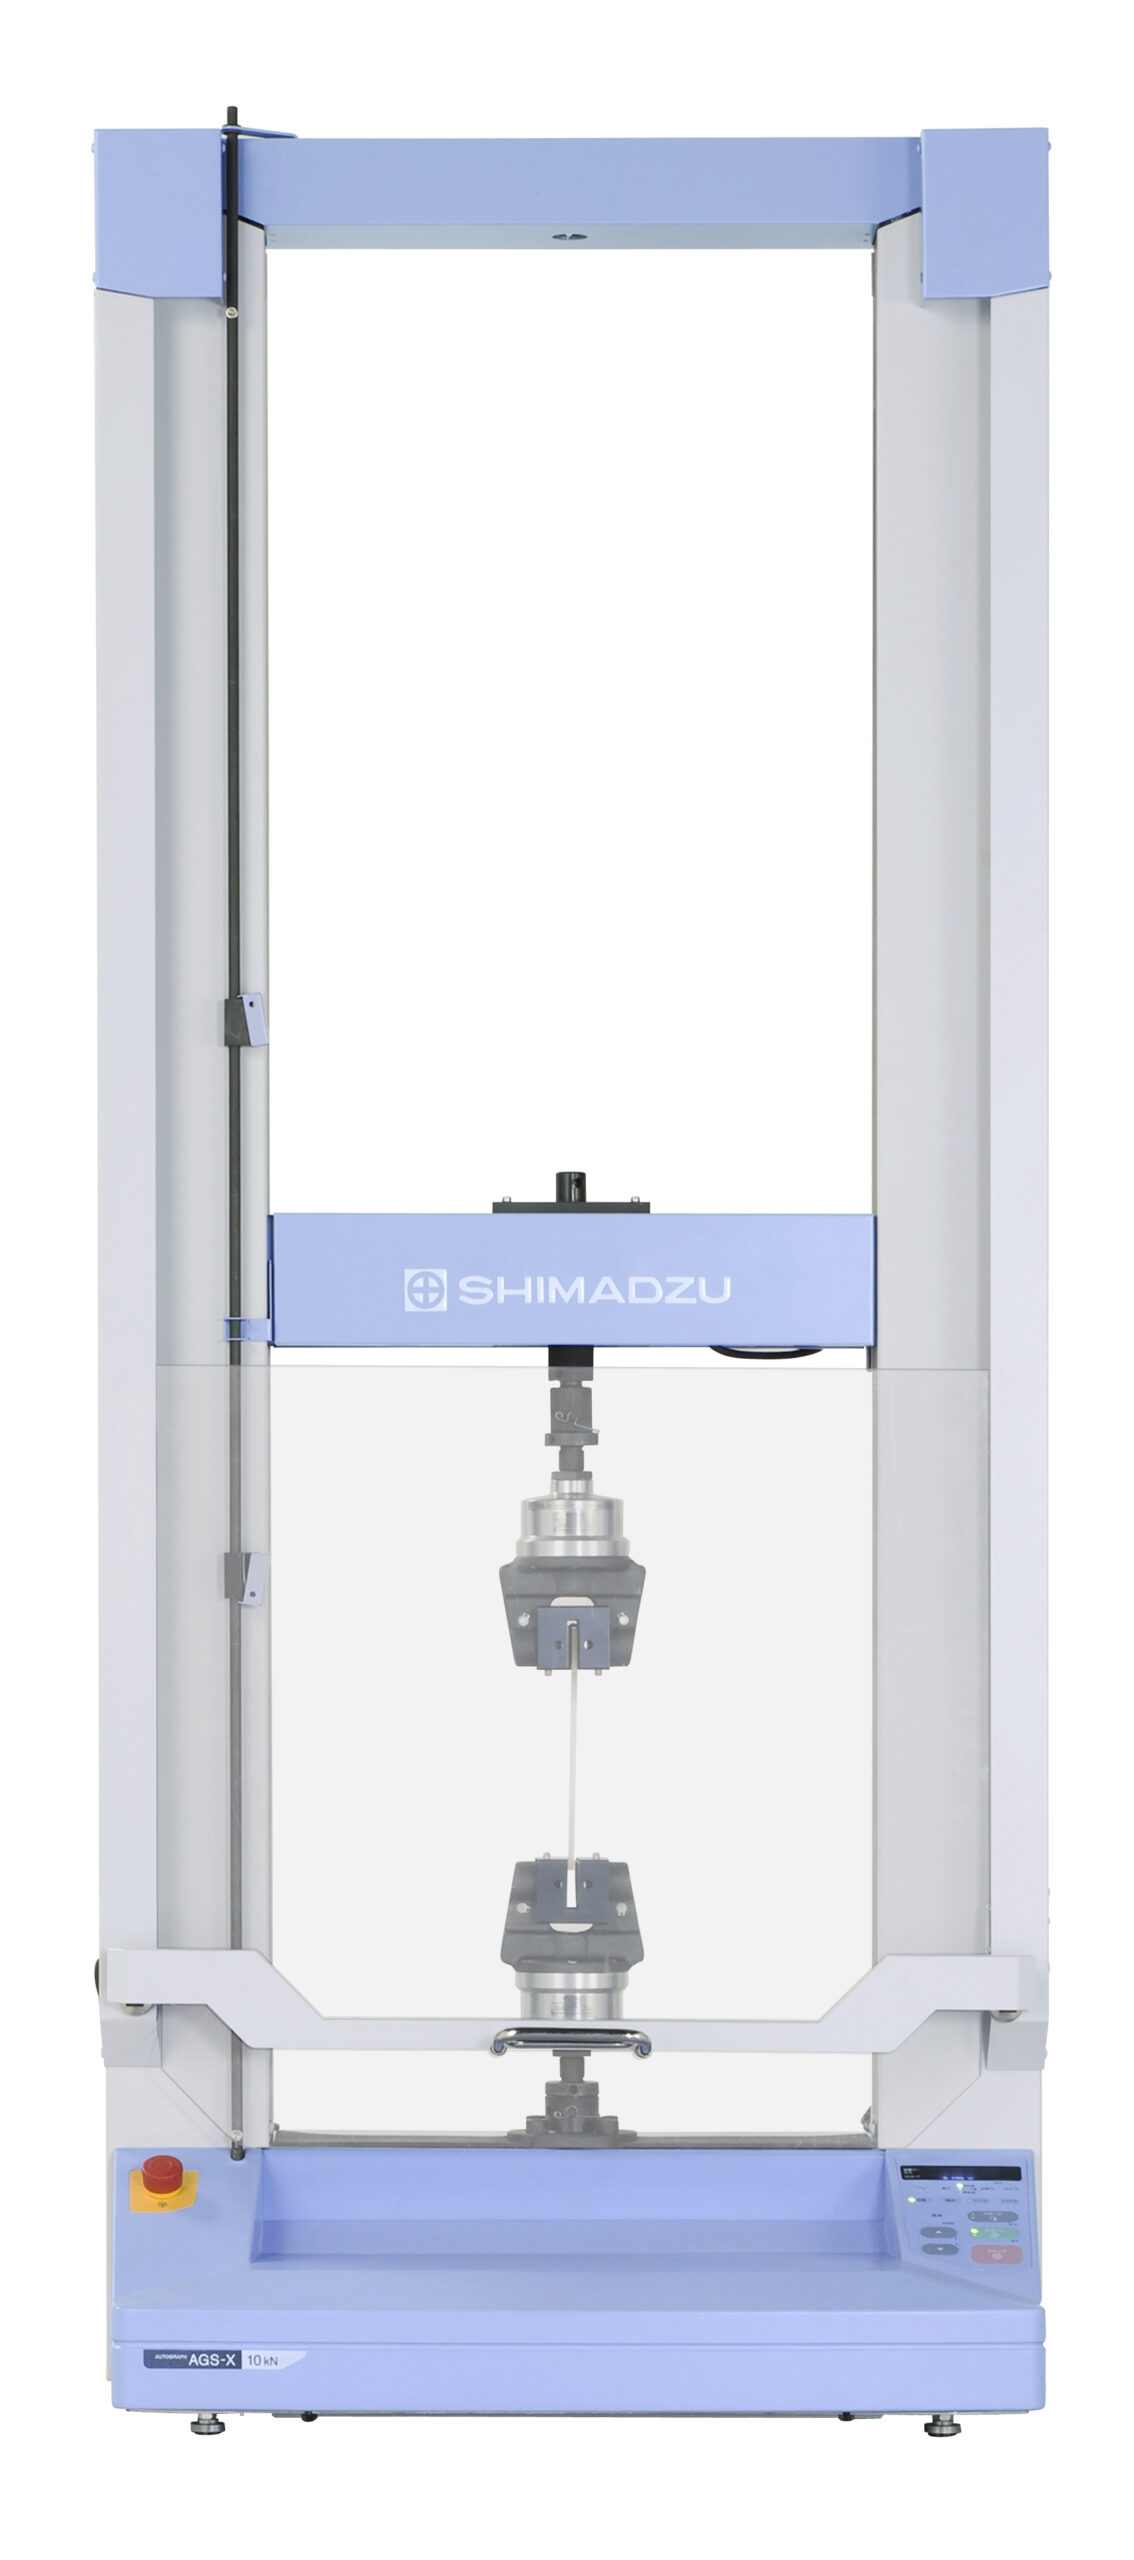
Universal testing machine with convincing cost performance.
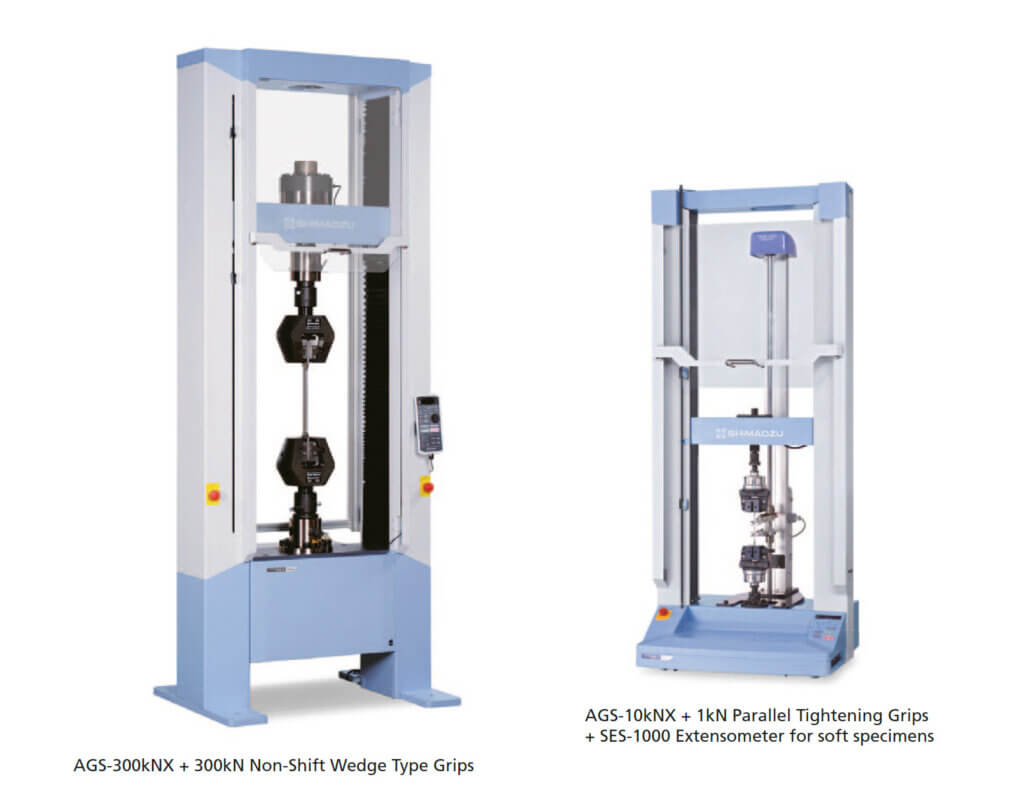
| Test force | 10, 20, 50, 100, 300 kN |
| Test type | Tensile, bending & compression tests |
| Drive | Electrical mechanical |
| Type | Table-top and floor-standing appliances |
| Industries | Universal |
Practical testing solution
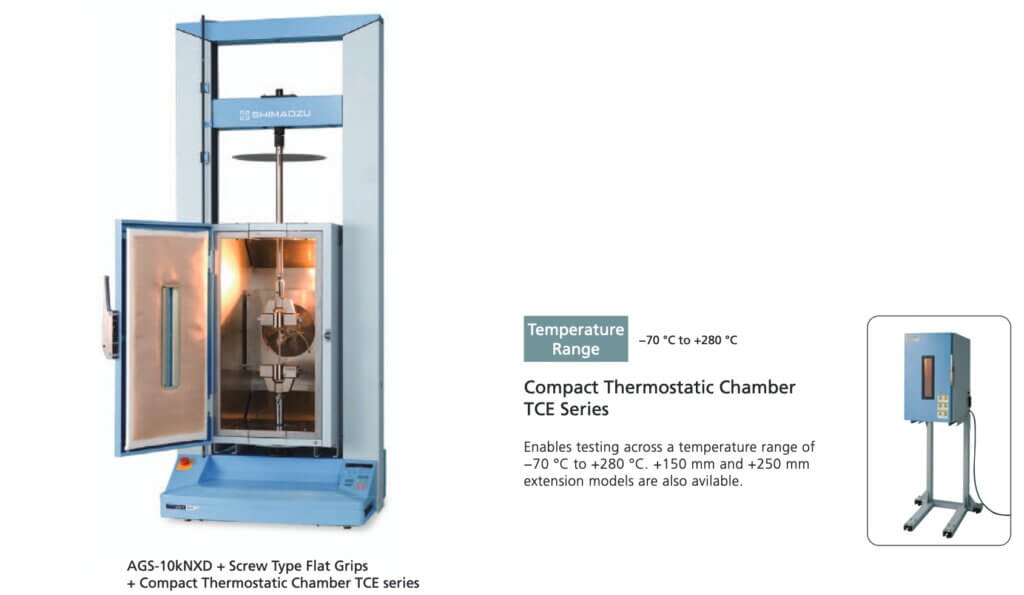
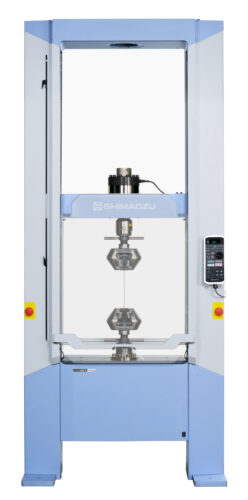
The Shimadzu Autograph AGS-X series provides superior performance and practical testing solutions for a wide array of applications. Offering high-level control and intuitive operation, the AGS-X series sets a new standard for strength evaluations while providing the utmost in safety considerations in a modern, stylish design.
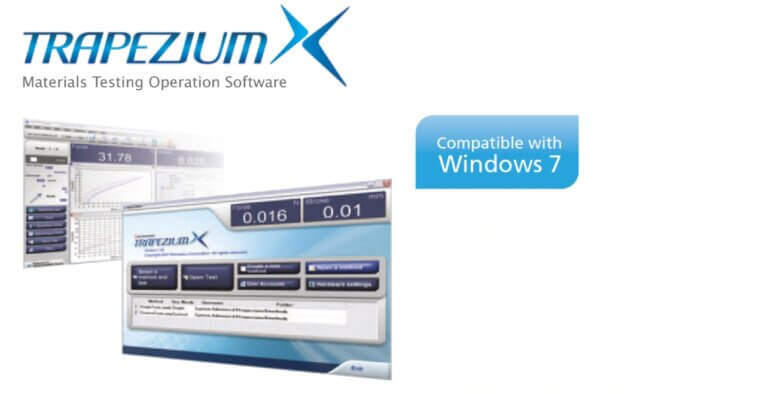
The AGS-X comes standard with industry-leading TRAPEZIUM X data processing software. Offering comprehensive functions, TRAPEZIUM X offers an unparalleled level of operation. TRAPEZIUM LITE X, Shimadzu’s entry-level data processing software, provides enhanced productivity and efficiency for quality control operations.
Convincing Cost Performance
New AGS-X Provides Practical, Affordable Testing Solutions
Easy Control of Stress and Strain
Offers real-time auto tuning of control parameters, based on measured test force and strain data. Safely make comparisons to unknown sample data without the need for preliminary tests. In addition, the AUTOTUNING FUNCTION easily performs strain control, an ISO 6892-2009 requirement.
Achieve an Accurate S-S Curve
with High-Precision Load Cells
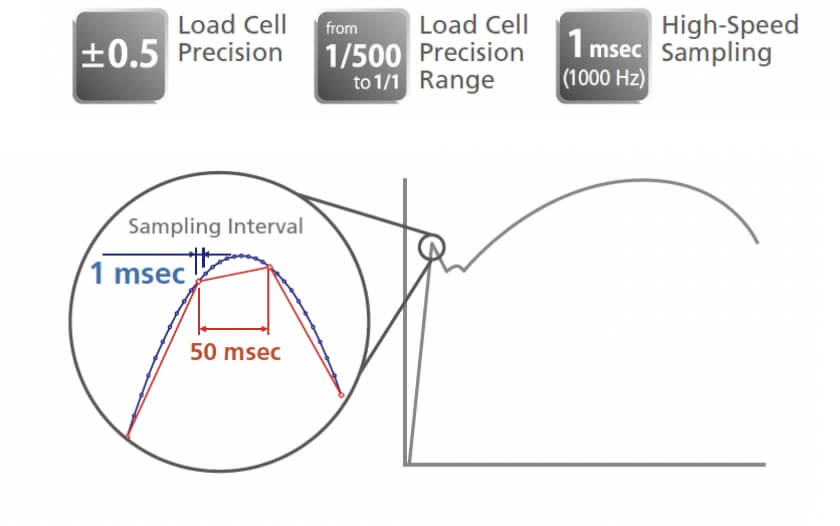
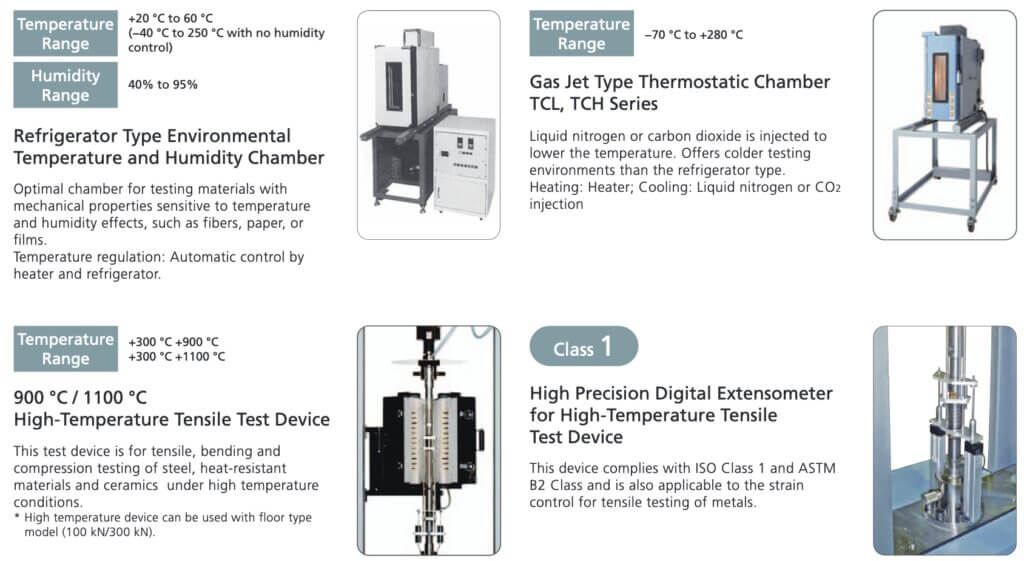
The wide, guaranteed load cell precision range of 1/500 to 1/1 improves testing efficiency and ensures that virtually all of your testing can be performed without switching the load cell or jig. Furthermore, high-speed sampling of 1msec ensures no missed strength changes
Dielectric breakdown of the semiconductor device
- SAFETY FUNCTION / ONE-TOUCH STROKE LIMIT
The safety function stops the testing machine if force changes exceed a certain level during specimen setting or return.
In addition, setting stroke limiters is easy with one touch of the switch. - SAFETY COVER
Controls scattering of the test specimen during testing. The interlock improves safety: operators can open and close it easily
with the slide mechanism. - DUAL EMERGENCY-STOP SWITCHES
Features emergency-stop switches on both sides (20 kN–300 kN frame).
8. Emergency Stop Button
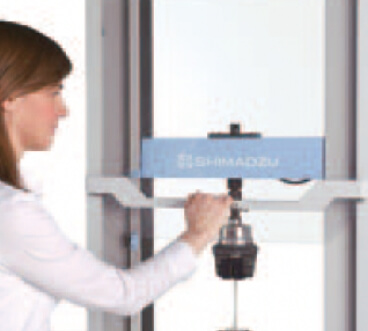
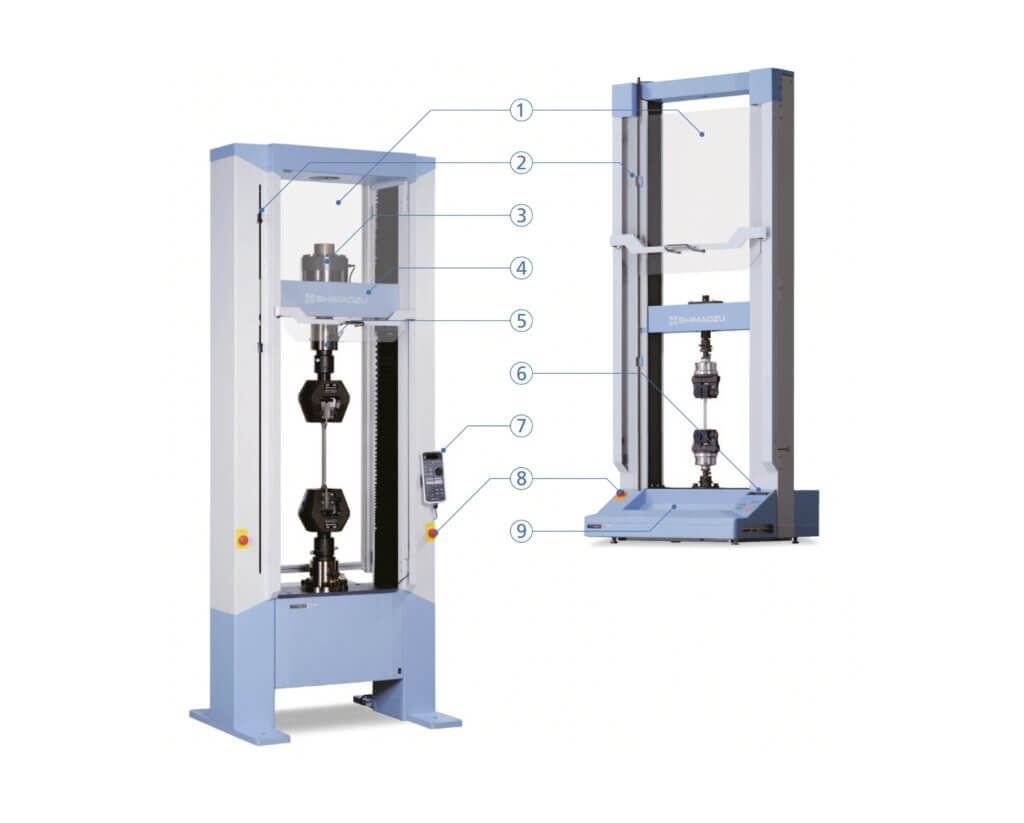
1. Safety Guard to Protect Against Flying Debris
A vertically sliding safety guard is available. Opens easily with one hand. When the safety guard is open, an
interlock function disables testing and return movement.
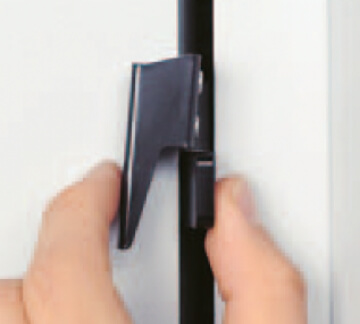
2. One-Touch Stroke Limiters
Pinch and slide; release to lock. One-touch stroke limiters permit simple one-touch adjustment and firm locking of the crosshead stroke limit positions.
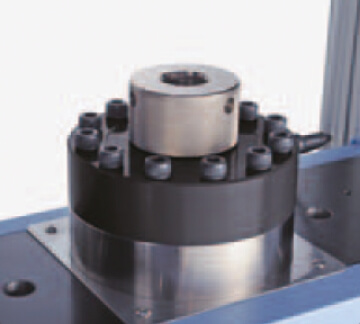
3. Load Cell
For the range of 1/500 to 1/1 of the load cell rating, a single load cell that guarantees test force accuracy to ±0.5% of the indicated value (for high-precision type) covers an extensive testing range. The load cell rated value is stored in the calibration cable and automatically recognized when the cable is connected.

4. Crosshead
Achieves a 1,600 mm/min testing speed and a 2,200 mm/min return speed (20 kN frame), significantly reducing the time required to conduct repetitive testing.
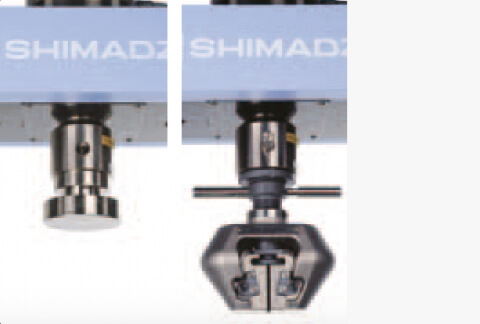
5. Common Joint for Both Tensile and Compression Tests (20–300 kN frame)
Adopts a single joint for both tension and compression tests.
This makes it easier to exchange jigs. In addition, the joint is set with a nut placed in the upper part of the loading cell, which allows for safe detachment of the joint on the table.
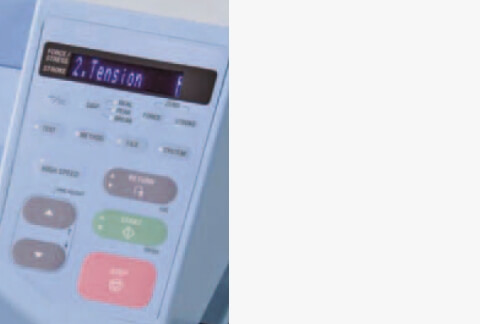
6. Built-in Main Operation Panel (for 10 kN frame)
Call up test methods from TRAPEZIUM LITE X to conduct testing. Naturally, AGS-X can be used as a standalone tester to test specimens using methods created with the tester itself.
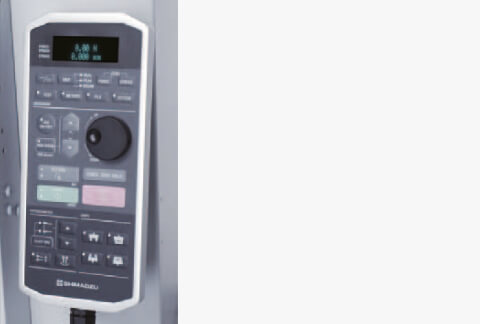
7. Main Operation Panel
The main operation panel enables the development and storing of test conditions, allowing testing without
having to connect to a PC.
Perform various operations with the jog wheel, such as opening and shutting the
button for automatic grips or the automatic extensometer.
The main operational panel is movable, allowing convenient adjustment of the angle.
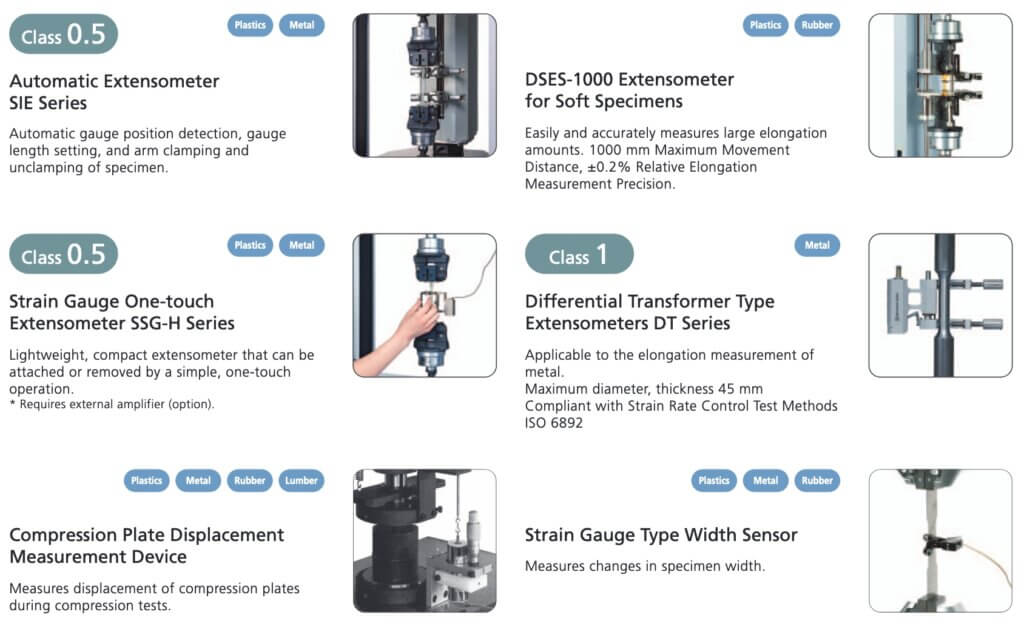
– The controller is needed separately for the automatic
opening and shutting of jigs.

8. Emergency Stop Button
Reliably cuts off power to the servo amplifier, instantaneously
stopping crosshead movement in the event of an emergency.

9. Multipurpose Tray (Desk-top frame)
Large space in front of the instrument.
Perfect for placing jigs,
arranging specimens, or taking notes.
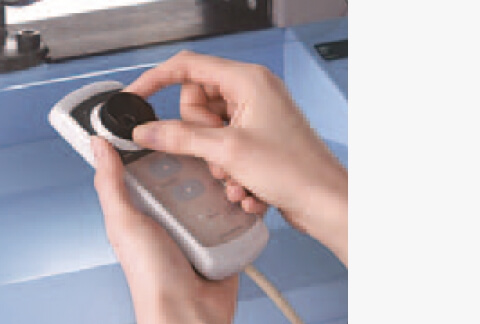
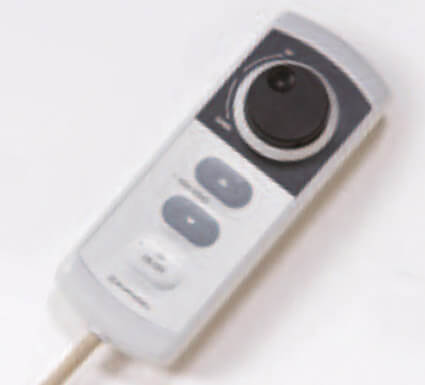
Jog Controller (option for 10 kN frame)
Allows hand-held control of the crosshead position. The jog dial makes fine positioning a breeze, particularly when setting the start position for bending and compression tests.
Quest for Convenience
Cutting-Edge Software Meets Your Materials Development and Quality Control Needs
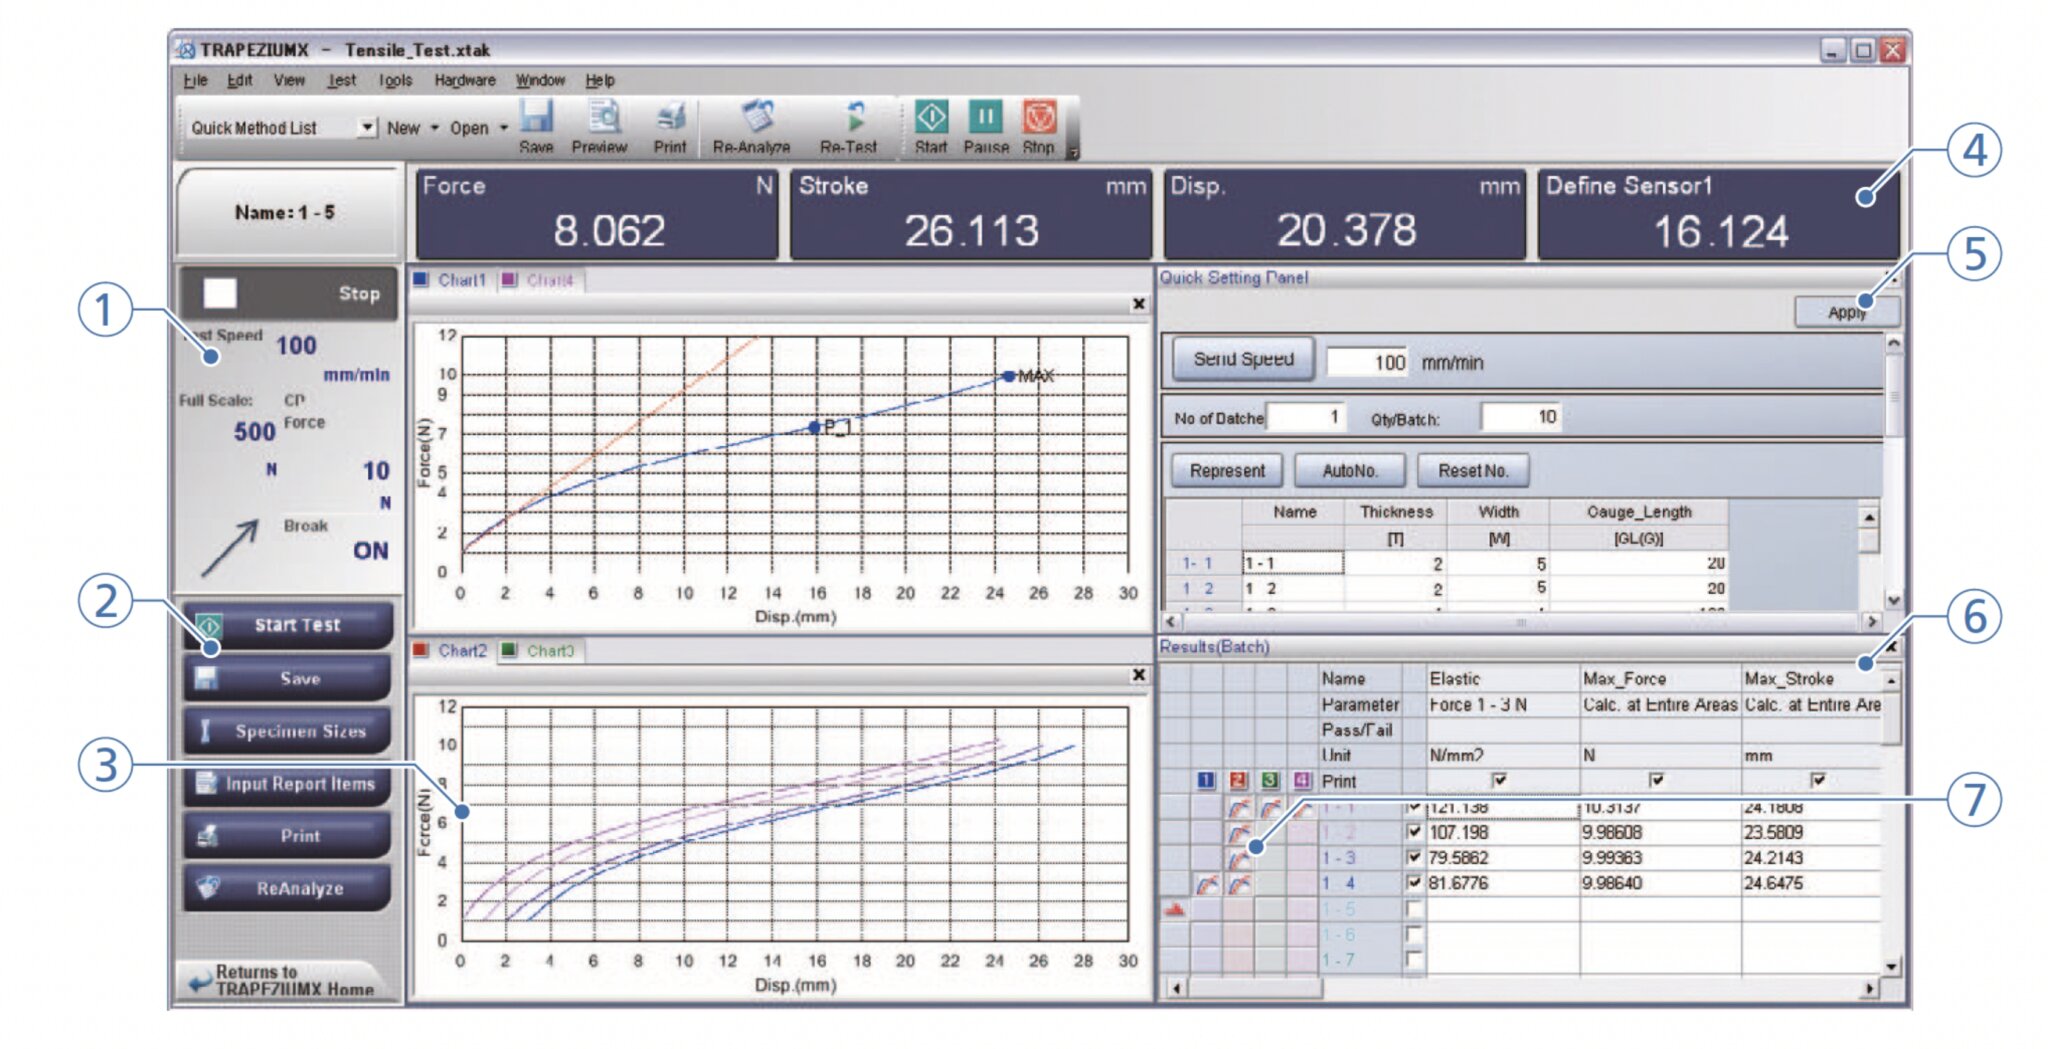
1. Test Method & Situation Panel
Confirm testing conditions and the situation from the main window.
2. Advanced Navigation System with a Learning Function
The Navigation Bar shows only the functions required for selected situations. In addition, the “Learning Function” records user actions for each situation and adds frequently- used functions as navigation buttons. This improves work
efficiency by matching functions to a user’s operational style.
3. Multiple Graph Function
Enables displaying up to four graphs. The graph can set two axes, respectively. In addition, a maximum of 50 graphs can be overlaid and point picking allows acquiring the value of a random point. This provides for a more detailed examination.
4. Real-time Data Display Panel
Displays the test force, stroke (strain), extensometer or strain gauge value and other input values, enabling one-window monitoring. In addition, the random calculation value can be display simultaneously for smooth confirmation of data.
5. Quick Panel
Quickly enter the speed, dimension, and report information from the main window.
6. Result Panel
In addition to re-testing and extra lot tests, this panel allows changing a variety of settings before and after testing. Specimens can be inserted in any position or added to only a specific batch, and the specimen order can be changed after completing the test.
7. Checkbox to Select Display Curve
Intuitive Machine Operation
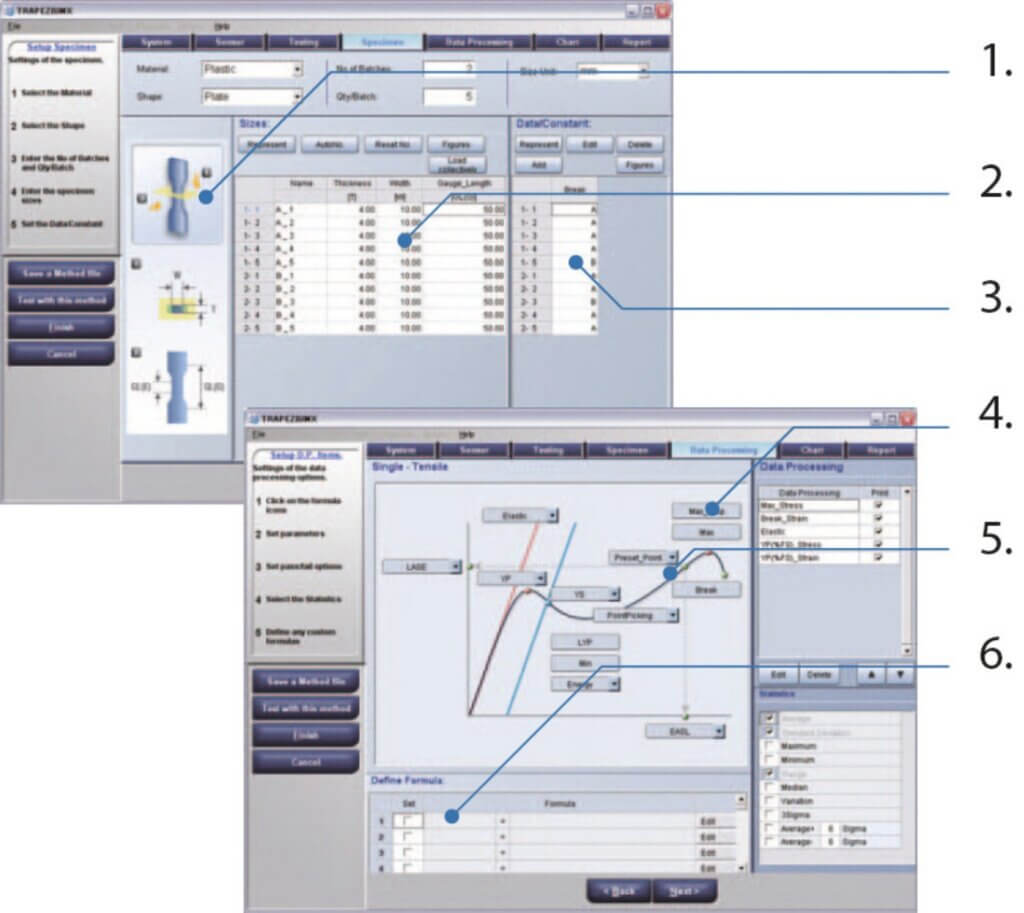
Visual wizard guidance ensures trouble-free entry of method settings
- Enter complicated method settings using the Method Wizard, which provides an overview of the entire process.
- Setting entry guidance, linked to online help, is available in each window.
- Easy-to-understand illustrations are used in the [Tension], [Specimen], and [Data Processing] windows, greatly simplifying the entry of settings.
1. Intuitive Machine Operation
2. In addition to manual input, dimensions can be set via [Excel batch reading] or [Automatic input via calipers].
3. Enter additional, non dimensional information for each specimen.
4. Prepare data processing items in advance. Simply press buttons on the figure to select settings.
5. Illustrations change according to the test mode and specimen material
6. Create random calculation formula using a data processing item or specimen size.
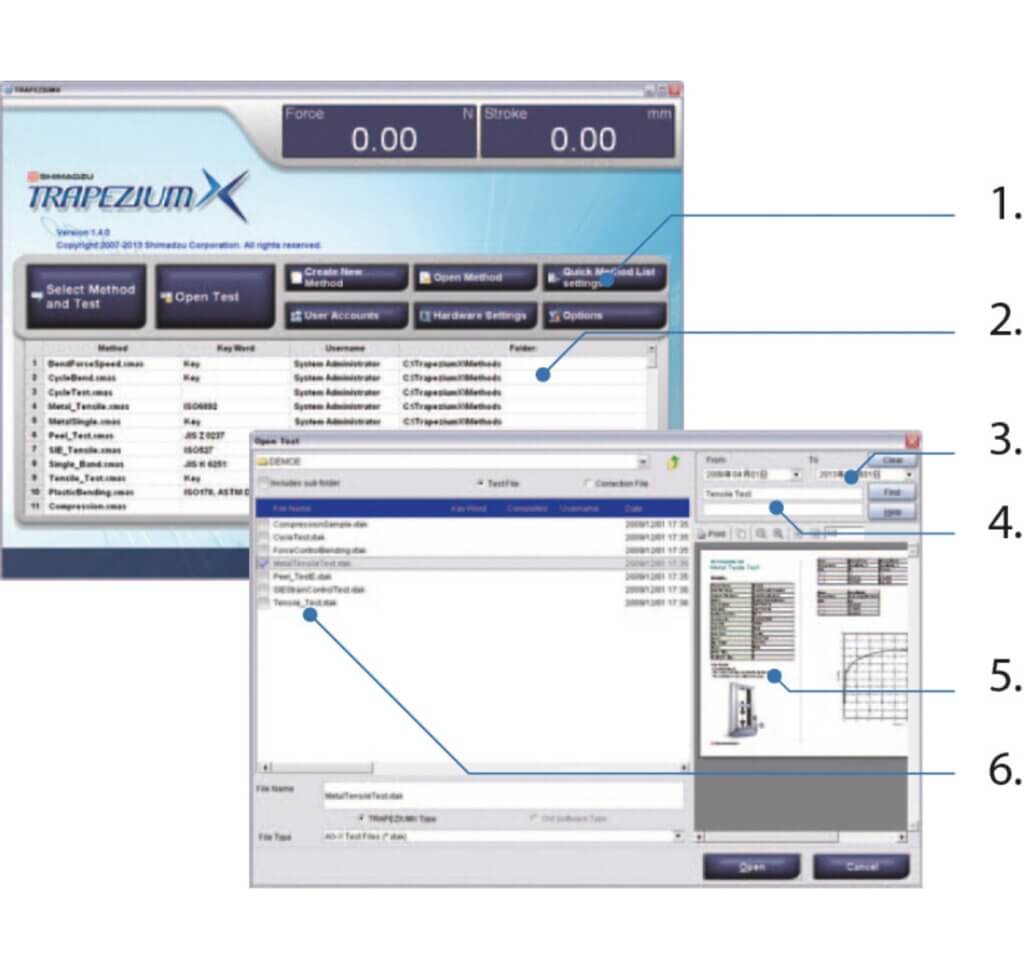
Perform high-efficiency, continuous testing utilizing fast data searches and one-touch method selection
1. All Functions – All operations are accessible from a top screen.
2. Start testing in just one step after frequently-used methods are recorded in the Quick Method List.
3. Search Conditions
4. Use a keyword or date to quickly search for saved test results and Method files. Also, easily call up files using previews of reports and lists of setting
5. Summary Preview
6. Search Result
Generate Detailed Reports
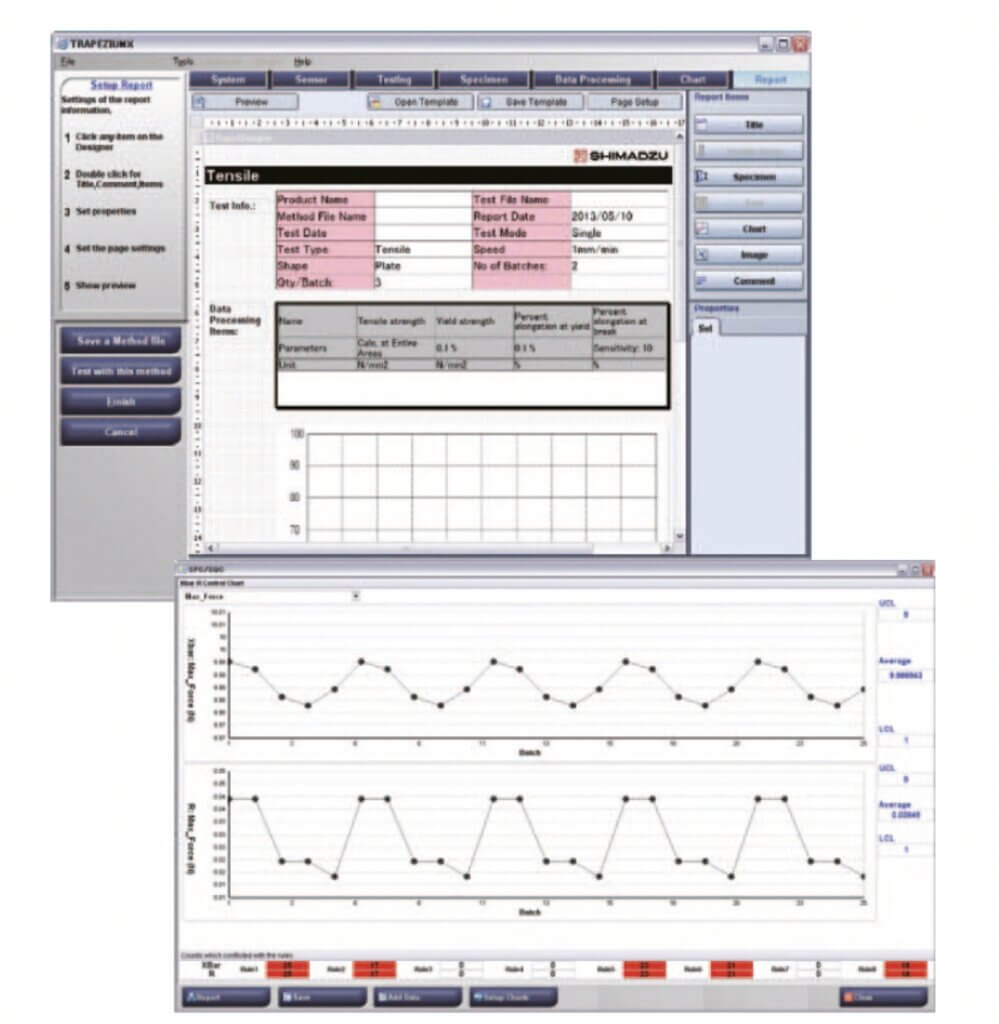
Richly expressive report creation includes free positioning of report elements
Report Designer allows flexible layouts. Create reports that include data, charts, photographs, and logs. Freely change the layout and element size, and use detailed settings for each element’s font, color, and ruled line. Reports can be output in PDF, Microsoft Word, Excel, HTML formats.
After exporting, use your everyday software to customize the report.
Conventional Process Control Function
Utilize daily test records to create an XBar-R control chart using data that has been extracted for a certain period. Daily test result statistics are available in various units, including date, specimen, batch, etc. The statistical result is displayed on the screen. It is possible to print them by adding the text and to output it as a PDF file.
Choose from Four Software Components to Fit Your Specific Application
When multiple software components are purchased, easily switch between modes at a single touch, without starting up separate software.
Single Software
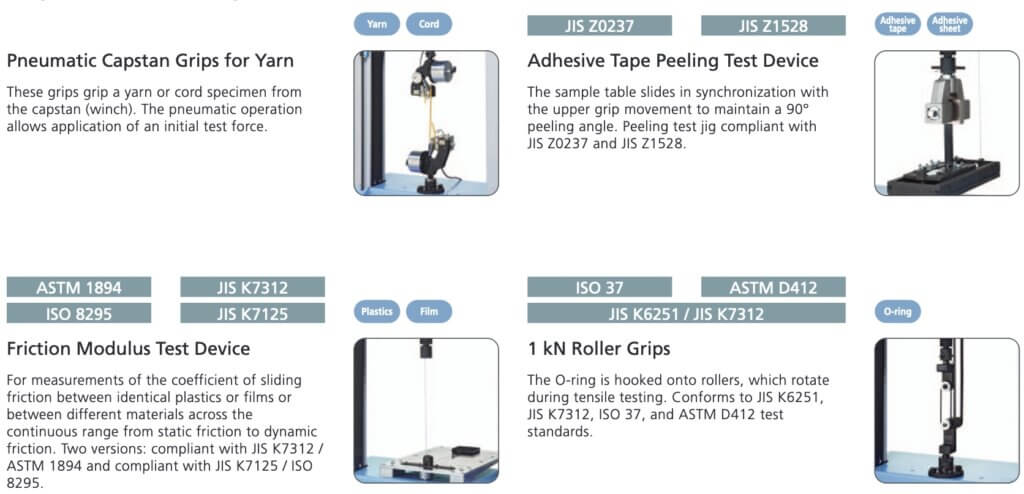
Similar to endurance testing, this software is used for testing where force is repeatedly applied and then released.
Cycle Software
Similar to endurance testing, this software is used for testing where force is repeatedly applied and then released.
Control Software
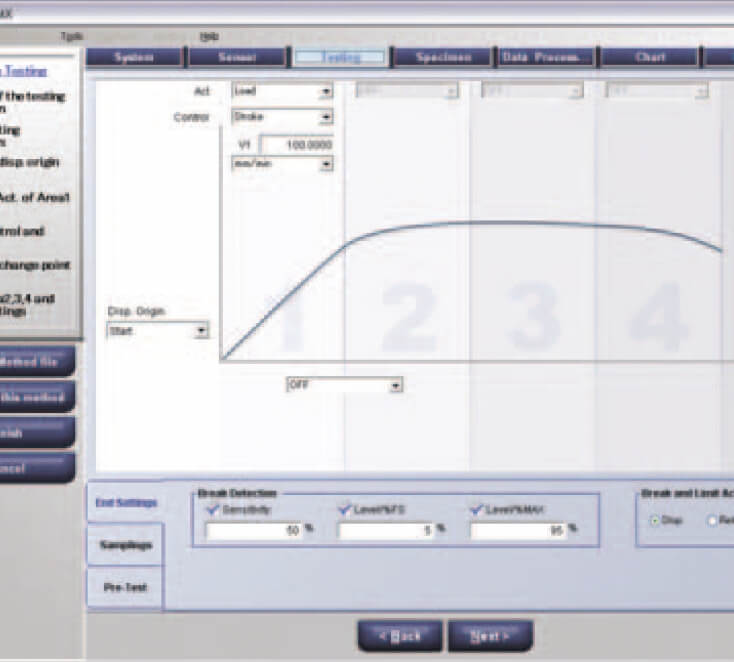
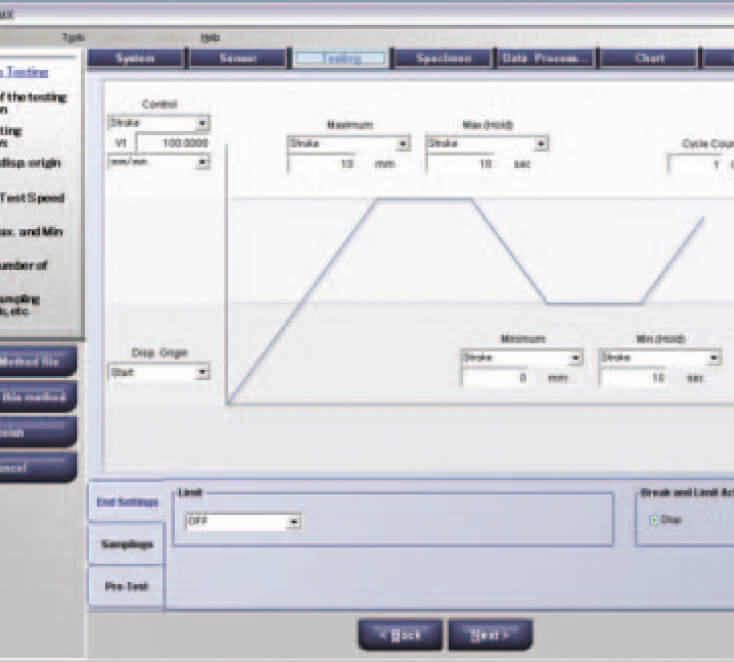
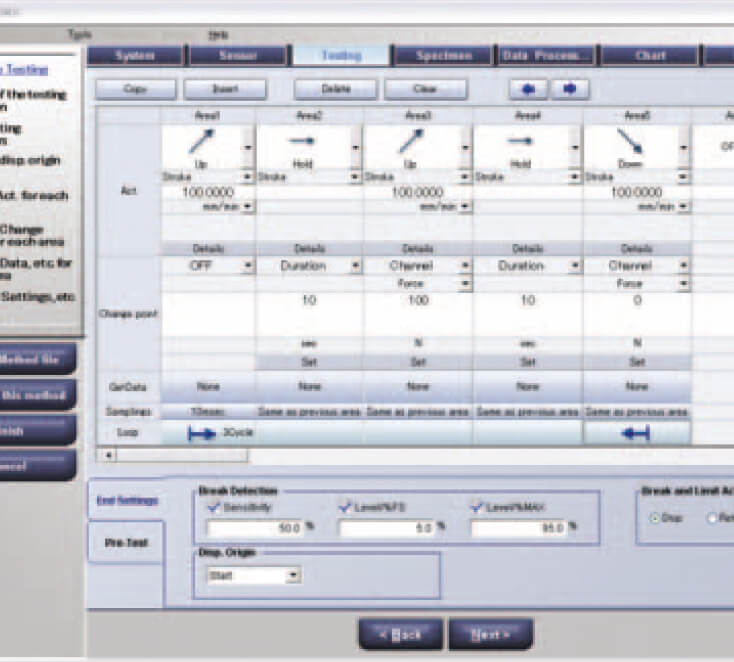
Create any testing machine operation pattern. Perform foam rubber compression and holding cycle tests.
Power Cable
EU specification (VDE standard) Chinese specification (GB standard) Japanese, N. American specification (UL, CSA, PSE standards)
supplied as standard.
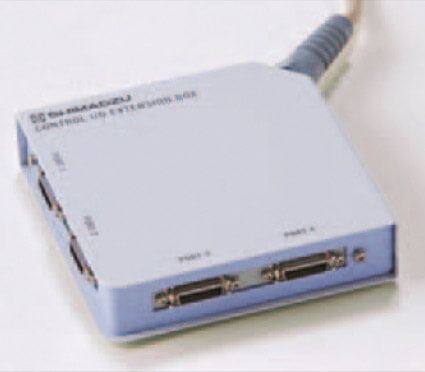
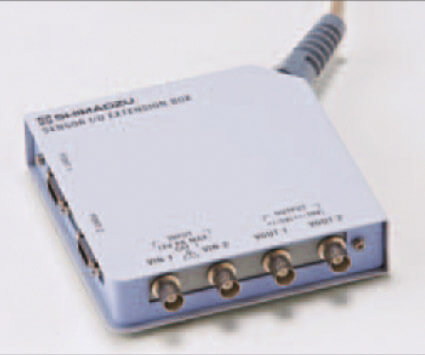
Control I/O Box
Expands the number of control I/O ports to four. Multiple options can be simultaneously connected to the control I/O ports.
Applications
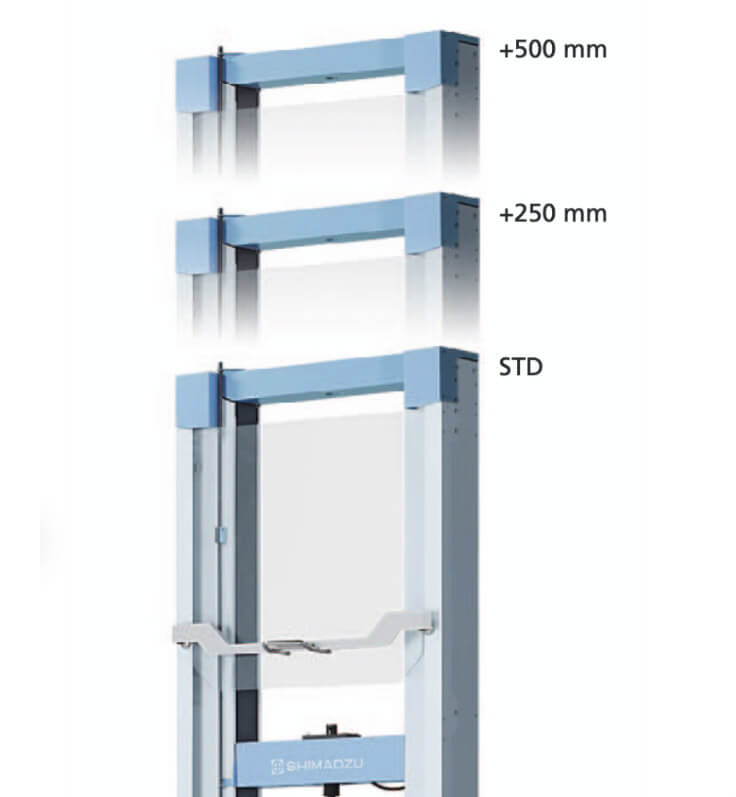
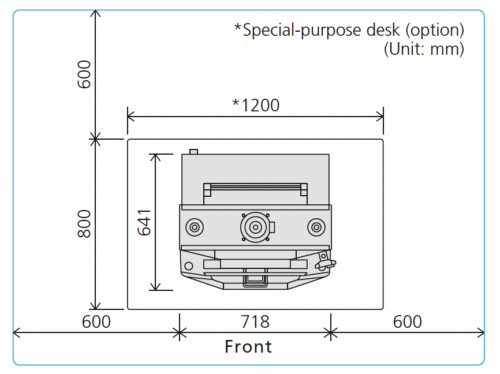
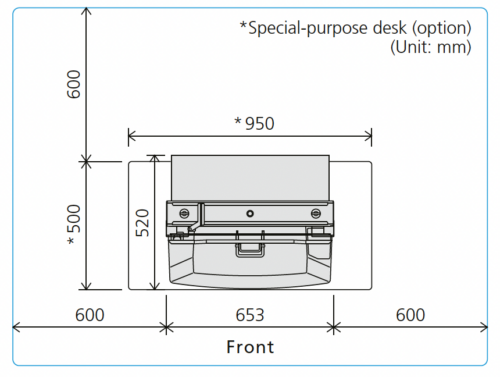
Technical data: 10 kN, 20 kN, 50 kN
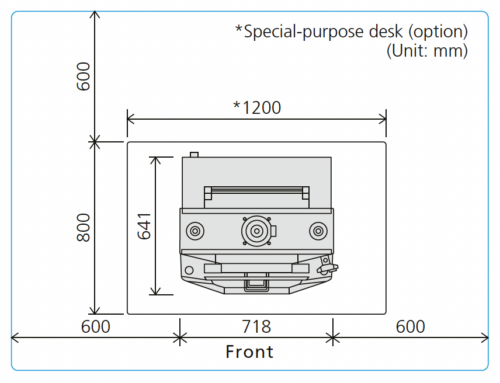
Technical data: 100 kN, 300 kN
Simple Software Improves Productivity
Improves Productivity and Efficiency of Quality Control
Performs general single-direction testing. Examples include tensile, compression, bending and peeling tests
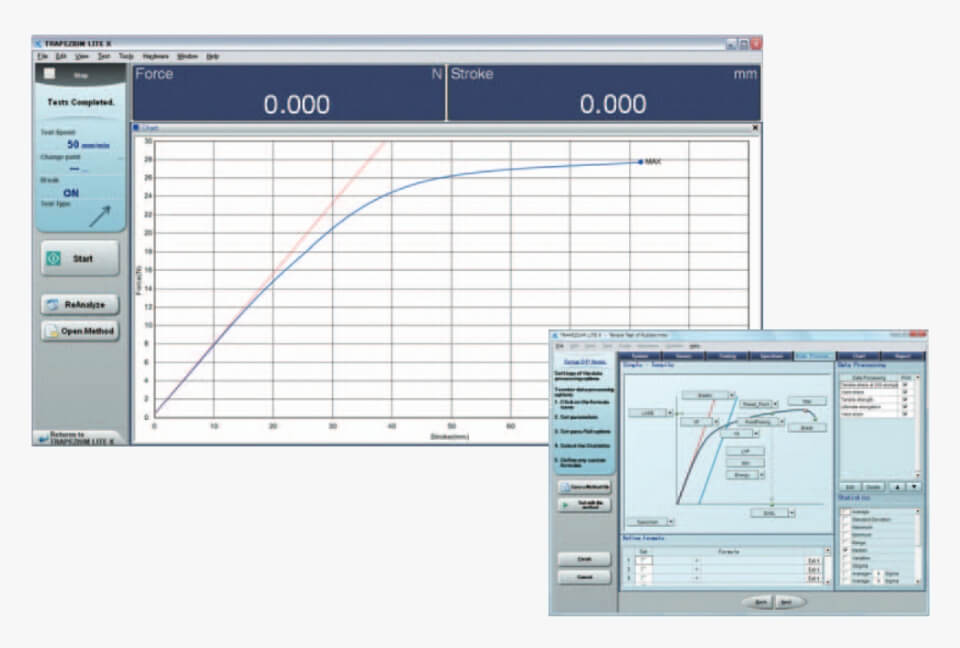
Simple Screen Layout
Few buttons ensure easily navigated operations One-touch test method selection
Supports Industry Standards
Recording convenient test method files enables instant testing Includes test method files for rubbers, plastics, and films that comply with JIS/ISO/ASTM standards. The terminology and data processing items specified in the test standard are pre-registered in the respective test method file to permit smooth testing in compliance with the standards.
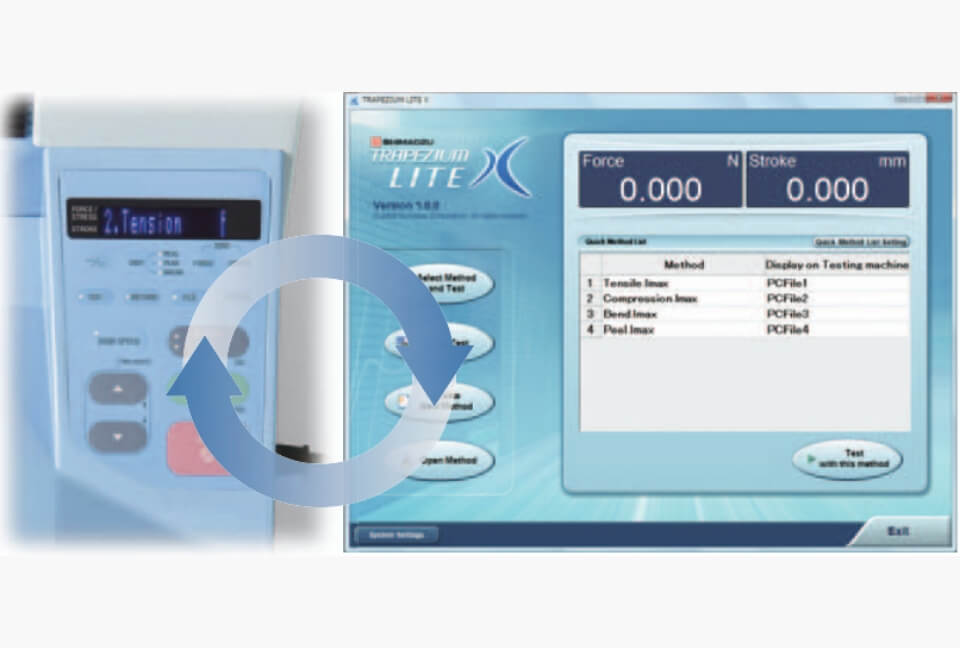
“Quick Method List”Makes Testing Easy
No mouse or keyboard required
Register often-used test methods to the Quick Method List to start testing instantly. The registered test methods can be directly selected or edited at the AGS-X tester, making testing easy even for users who find using a PC
troublesome.
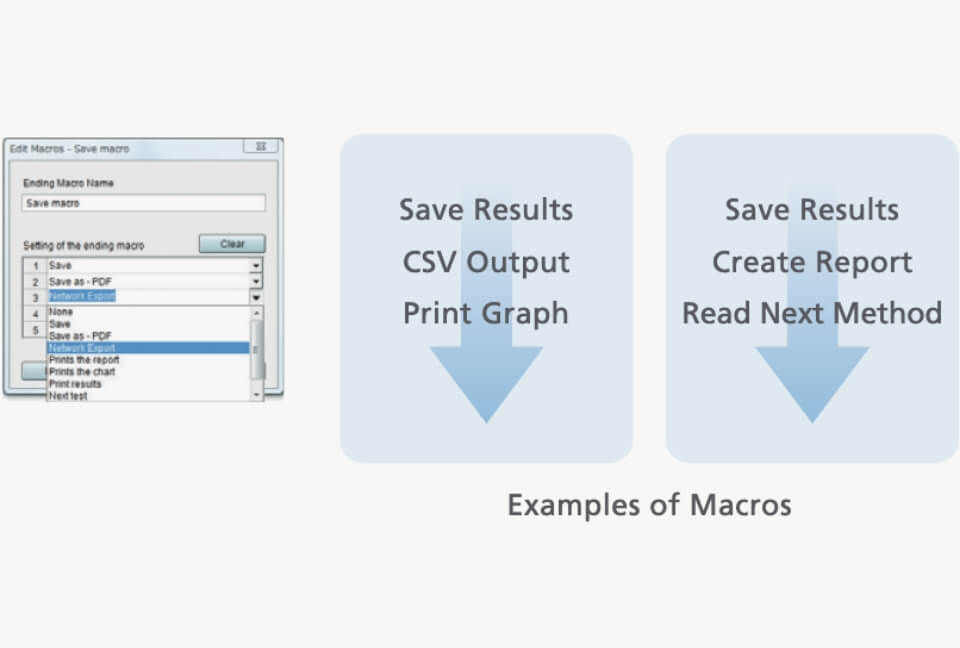
Macros Enhance Work Efficiency
Just set up the test and start testing. All tedious operations have been automated.
The sequence of operations frequently conducted after testing can be fully automated. Functions for coordinating with the AGS-X permit saving of test data and report generation and printing without touching a PC.
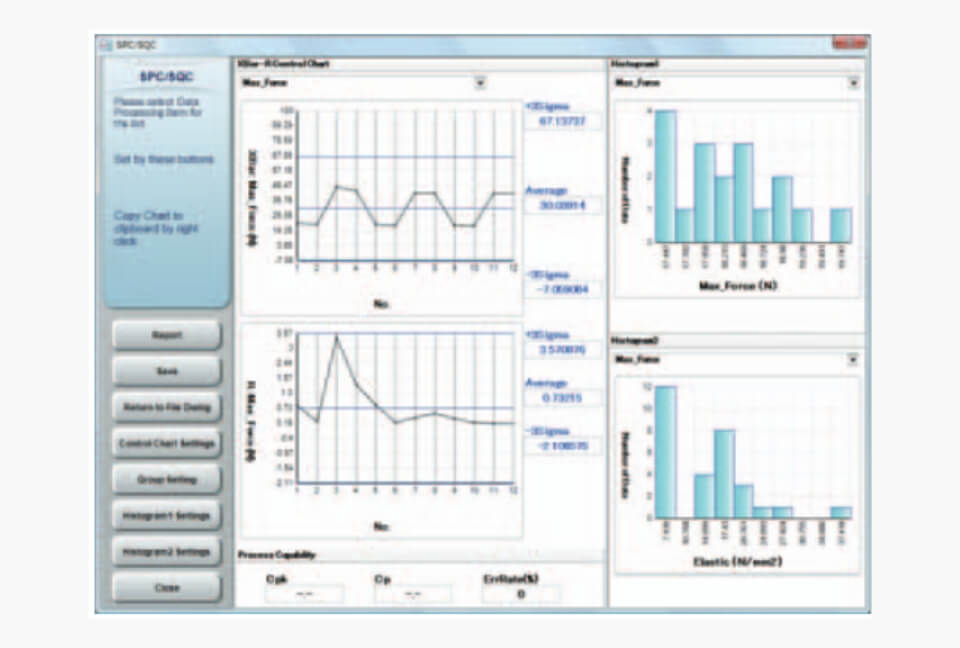
Statistical Process Control Functions
Effectively utilize daily test results.
Extract and compile test results over a fixed period to create histograms and XBar-R control charts. Compile statistics on daily test results by date, specimen, or batch, and display the results on screen. Add text to statistical information for
printing or output to a PDF file.
