Introduction
Based on their thermal properties and light weight, plastics have recently come to be used in a variety of applications and sectors, from small gears to airplane fuselages. A variety of tests must be performed to evaluate these materials, from tensile tests to flexural tests and compression tests. Of these, a flexural test is performed to examine material characteristics when flexed by an external force. Because components subject to an external force will flex in reaction to a bending moment, the flexural test is one of the most basic tests used to evaluate materials. Previous testing standards that define a three-point bending flexural test for plastics did not require the deflection-measuring system. As a result, tests detected specimen, instrument deflection and indenter depression together as a total, which is a method not suited to accurate measurements of flexural modulus of elasticity. Amended standards (ISO178:2010, Amd.1:2013 and JIS K 7171:2016)
have been amended and include either use of a deflection-
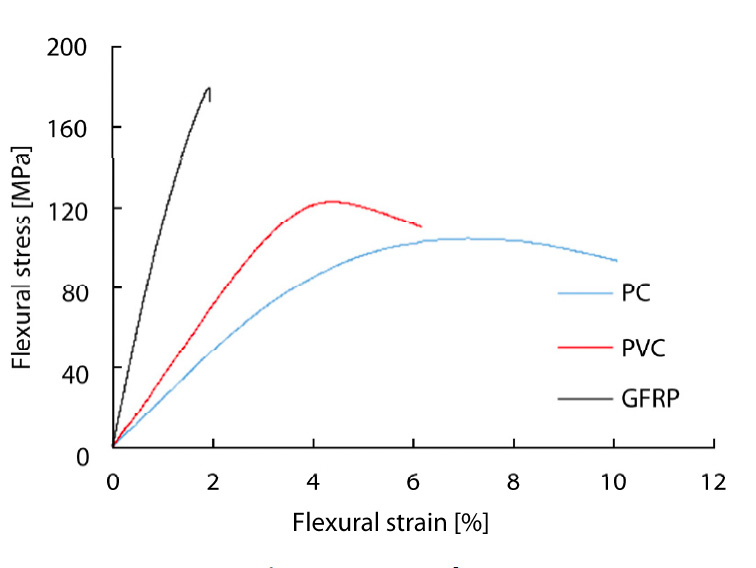
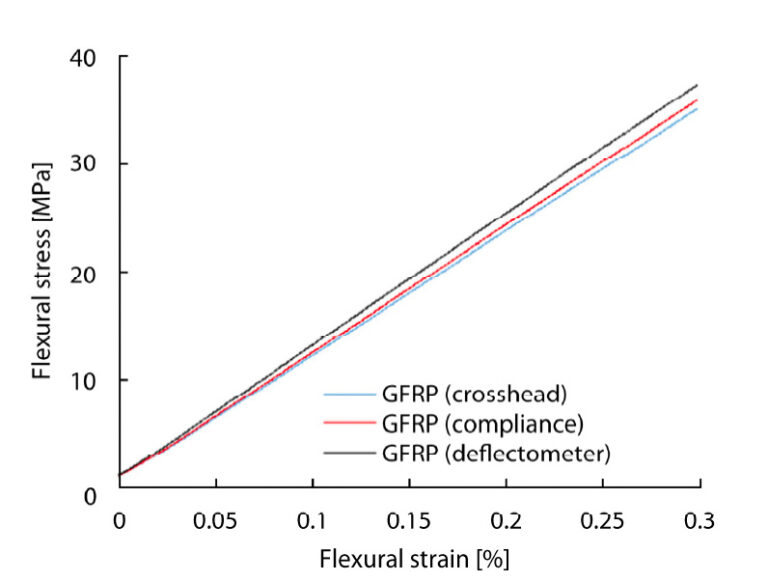
measuring system with “ISO 9513 Class 1” absolute accuracy of within 1 %, or use of compliance correction to remove testing machine deflection. A three-point bending flexural test was performed on PC, PVC, and GFRP specimens in compliance with the amended standards, where the flexural modulus of elasticity of each plastic was calculated using crosshead displacement, compliance correction and the deflection measuring instrument.
Measurement System
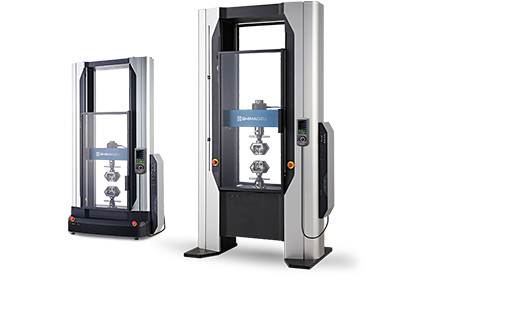
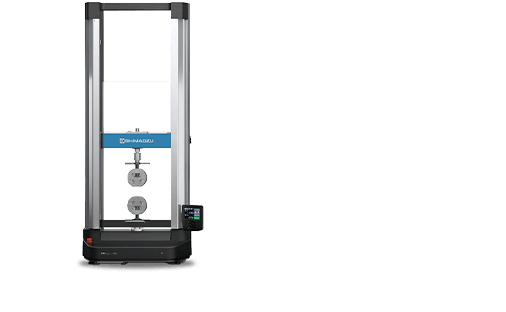
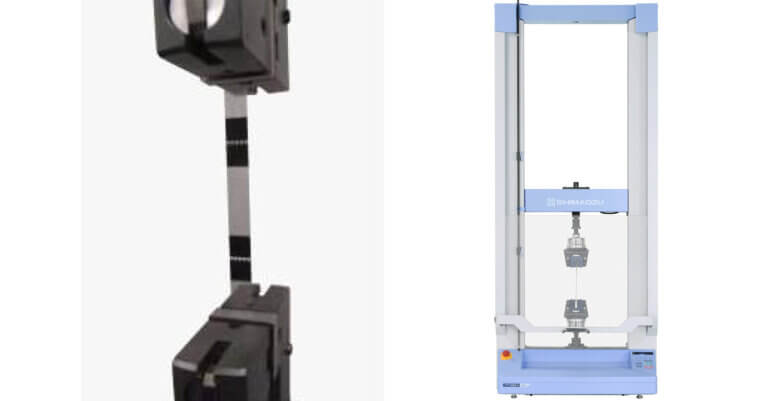
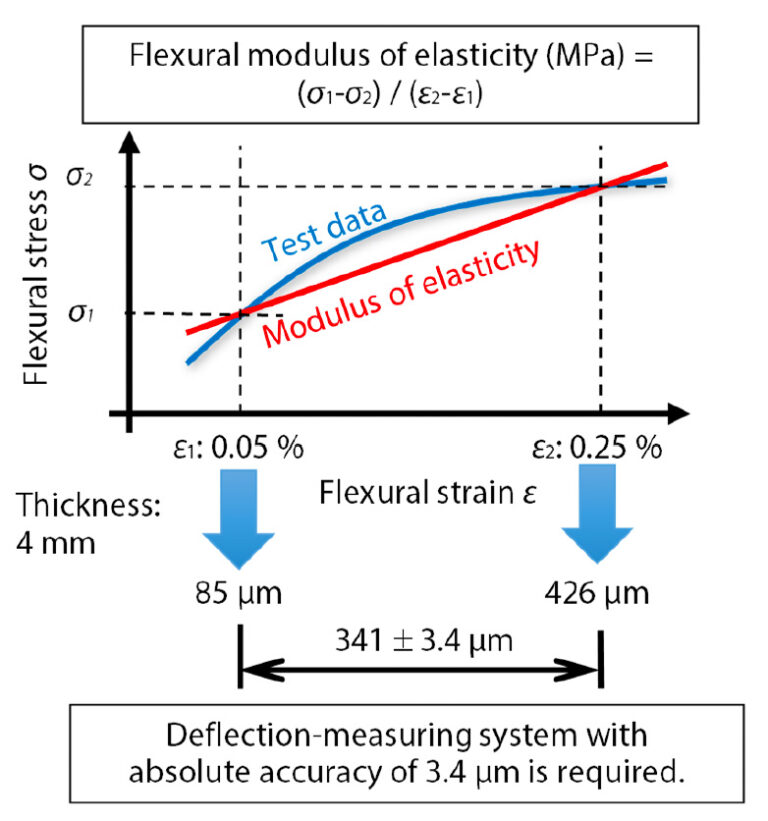
Measurements were performed using an AGS-X Table-Top Type Universal Testing Instrument and the deflectionmeasuring system with a measurement accuracy of within 3.4 μm. The requirements of the amended standards when mean specimen thickness is 4 mm are shown in Fig. 1. The value relevant to flexural modulus calculation is 341 μm, where a deflection measuring instrument with absolute accuracy of 1 % of this value (3.4 μm) is required (Fig. 1 shows the flexural modulus of elasticity calculated based on the slope at two points, though the flexural modulus of elasticity could also be calculated based on the linear regression of the curve). Table 1, 2 and 3 show details of the instruments, specimens, and test conditions used. Fig. 2 shows the test apparatus layout. The amended standards describe a method A that uses a constant test speed, and a method B that increases the test speed after flexural modulus measurement. Test method A was used with GFRP that has a small maximum flexural strain, and test method B was used with PC and PVC that have a large maximum flexural strain, and the test speed changeover point was set at 0.3 % flexural strain. Furthermore, since the proportion of external force accounted for by shearing force increases when the span between supports is small*1, standards recommend the span between specimen supports is 16 ± 1 times the mean specimen thickness.




![Table 5 Comparison of Flexural Modulus of Elasticity Results by Measurement Method Deflection [GPa]](https://shimadzu-testing.com/wp-content/uploads/2024/09/three-point-bending-flexural-test-for-plastics-table-5-comparison-of-flexural-modulus-of-elasticity-results-by-measurement-method-deflection-gpa-768x165.jpg)
